We all love a good (sunless) tan, am I right?
However, everyone also knows that one girl who straight looks like an Oompa Loompa each time she hits the tanning salon. To each their own, but I’d choose a natural, sunkissed look over a cheeto spray any day. I’m also all about tanning at home. Because who really has the time to keep up with a spray tan nowadays?
And can we just touch upon how freaking expensive spray tans are, too? Tanning beds are OUT (buh bye harmful UV rays & skin cancer scares), so it’s easy for salons to jack up the price of spray tans. It sucks, since this is the safer option, and the pricing difference might encourage some people to just take the risk and opt for a tanning bed.
[In case you’re wondering, the tanning salon near my house has spray tan memberships priced at 4x the cost of a tanning bed membership.]
There’s something about this that just feels slimy to me, and I’d rather just forego the process entirely, especially when I can get the same, more controlled results at home.
Along with starting a new workout routine recently (more on this later), I’ve gradually been building a tan. I’ve experimented with lots of at-home products before — and have looked like a flaming cheeto many-a-times — but I think I have finally perfected the process.
Here are a few of my quick & dirty tips to getting the perfect tan at home and avoiding looking like one of Willy Wonka’s Oompa Loompa’s:

1. Exfoliate, exfoliate, exfoliate
If there’s just one thing you do before trying a self-tanner, let it be exfoliate! Rub a corse scrub (my favorite ever) over your entire body to slough off the dead skin that could otherwise lead to icky dark patches once you apply the tanning lotion. Just make sure it’s nothing oil-based, since this could also lead to streaks.
2. Dry Off
Make sure you’re completely dry before applying. Seriously, even getting careless with just a few drops of water can make the difference between a natural-looking sunless glow and a bad fake tan.
3. Be Careful with color
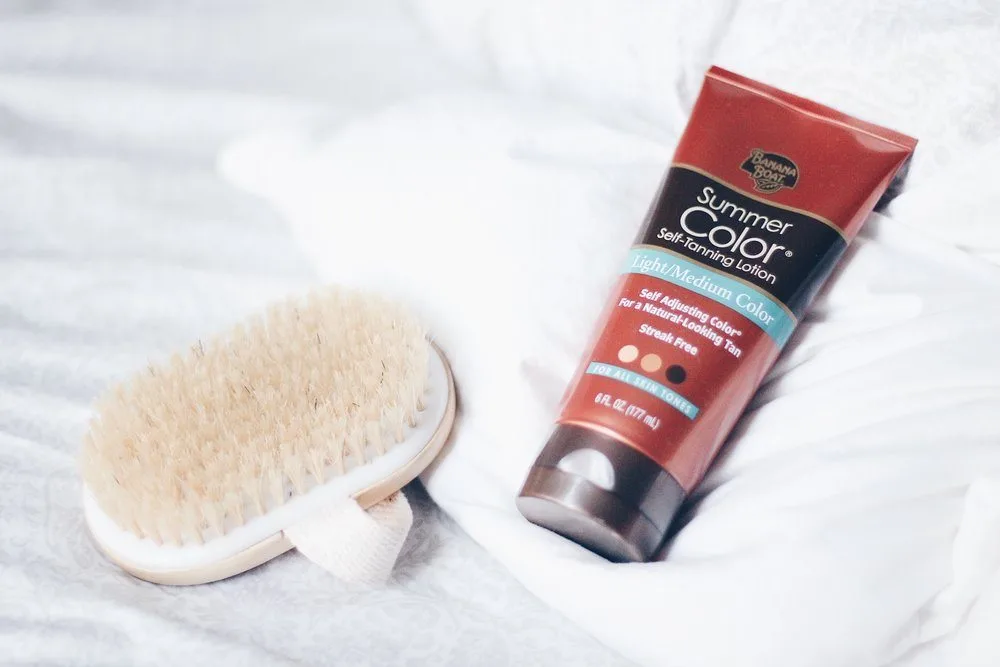
Want a recipe for a bad self tan? Just choose a color that’s too dark for your skin tone. So many girls do this time and time again, and I’m not quite sure why. To me, the whole point of self-tanning is to achieve what appears as a bit of natural, healthy color. This is the same thing that happens when you buy a foundation that’s not right for your skin tone. It’s not going to look natural and, honestly, it’s not going to look good either. Choose a self-tanner according to the color of your skin, and also look for a formula that is “self adjusting” like this one.
4. Go Easy On Your Joints
One area to be especially careful around when applying self tanner is your joints (knees, elbows, ankles, etc.). The reason for this is that the lotion can build up in these spots creating either dark, unnatural looking orange patches or streaks. While you’ll want to apply a liberal amount of lotion to the other areas of your bod, go easy on your joints, and make sure you’re spreading the color in a very thin, even layer.
5. Wash Your hands Immediately
As the bottle instructs, you’ll want to wash your hands immediately after applying self tanner. Otherwise, you’ll end up with carrot fingers, ha! And don’t worry about washing the lotion off of your hands and creating an inconsistent color between your arm and hand. As long as you wash off just your hands, there should be a pretty smooth and unnoticeable transition between color when the lotion dries.
6. Keep Yo’ Birthday Suit On
Until the lotion has completely dried, don’t put any clothes back on! I like to turn the fan on in my bedroom and sit with a towel on doing work at my desk until my tan has dried. Don’t sit on your bed though, or you’ll risk staining the covers!
7. Touch Up
One of the nice things about an at-home tan session is that you control the results. You decide just how much color you’re applying and where, and you also have the option to quickly touch up any imperfections. All you need is a little lemon juice, which helps remove the color in areas where you may have made a mistake.

