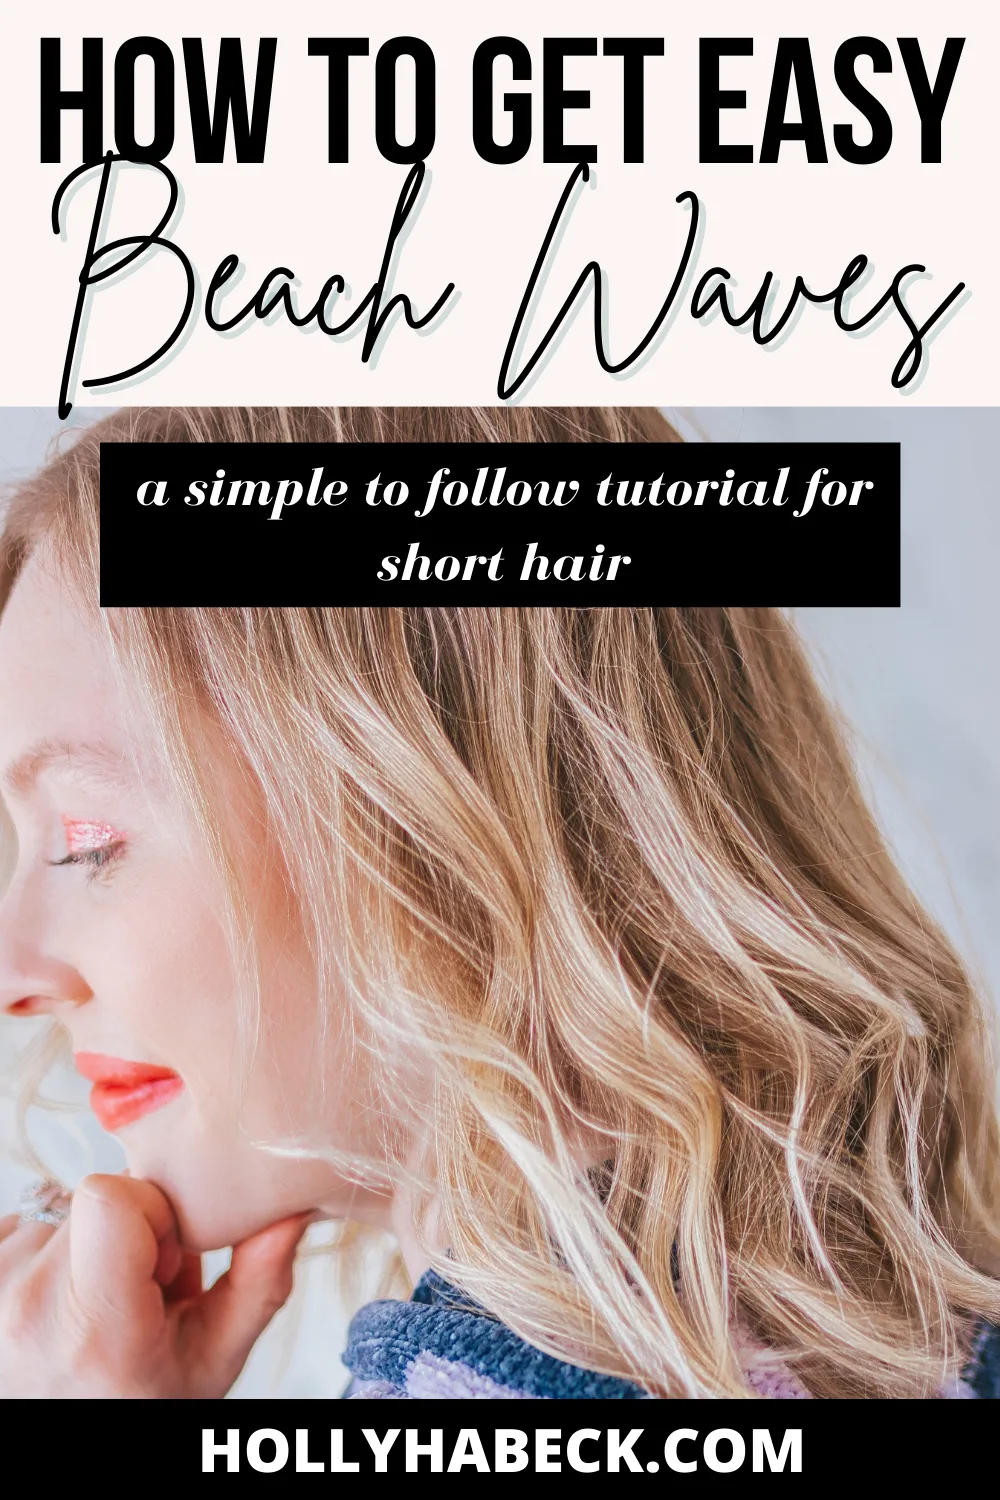
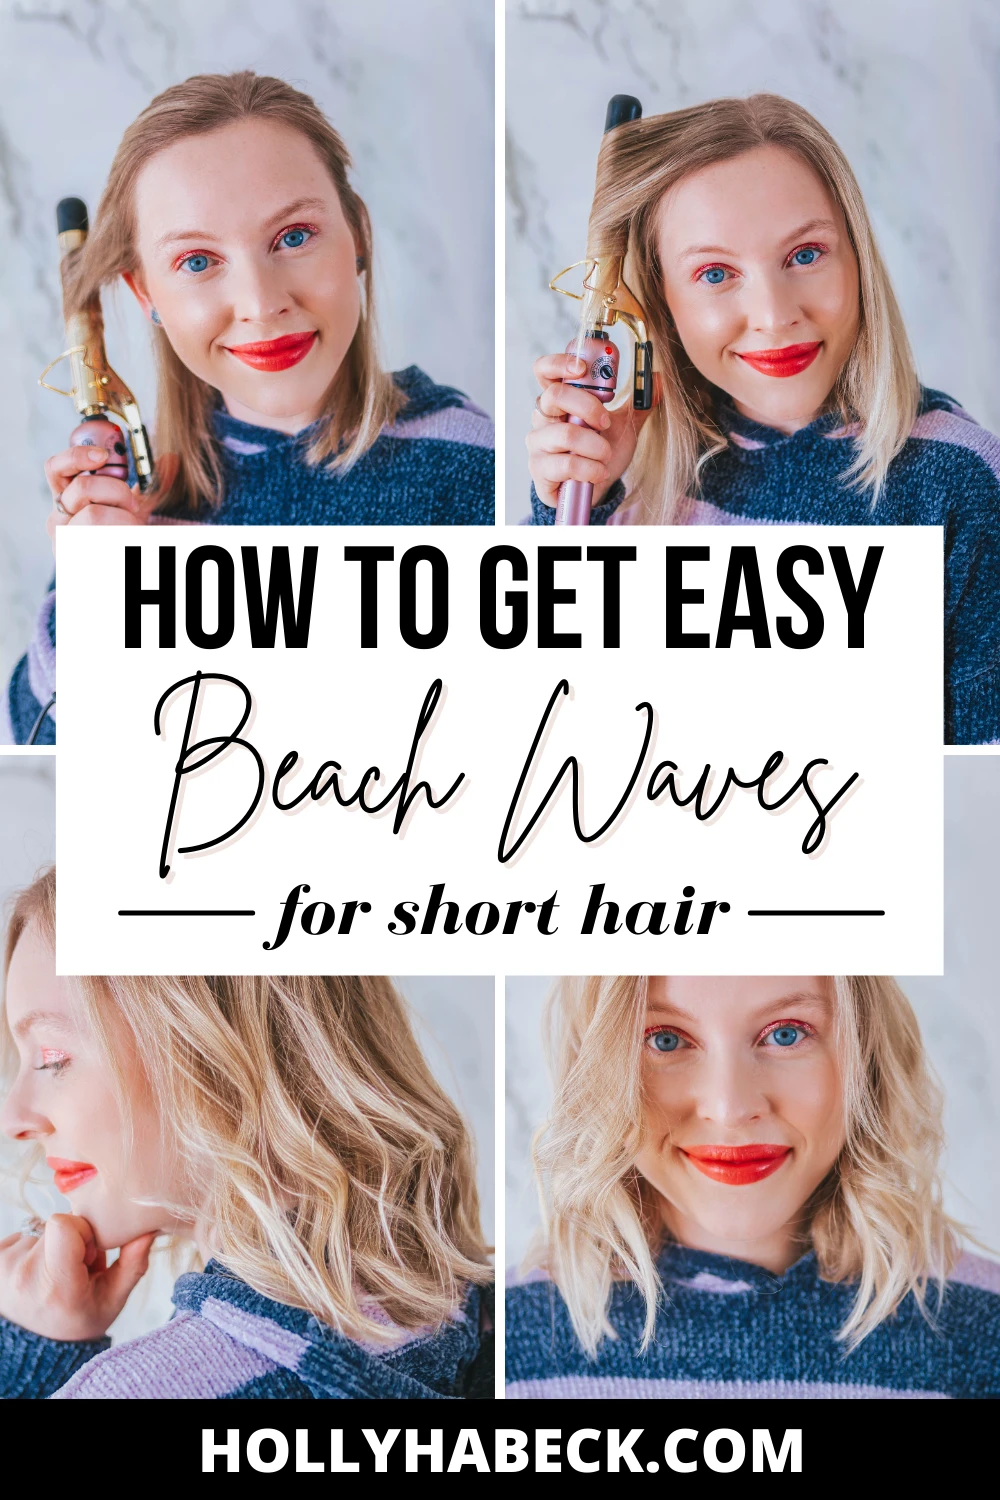
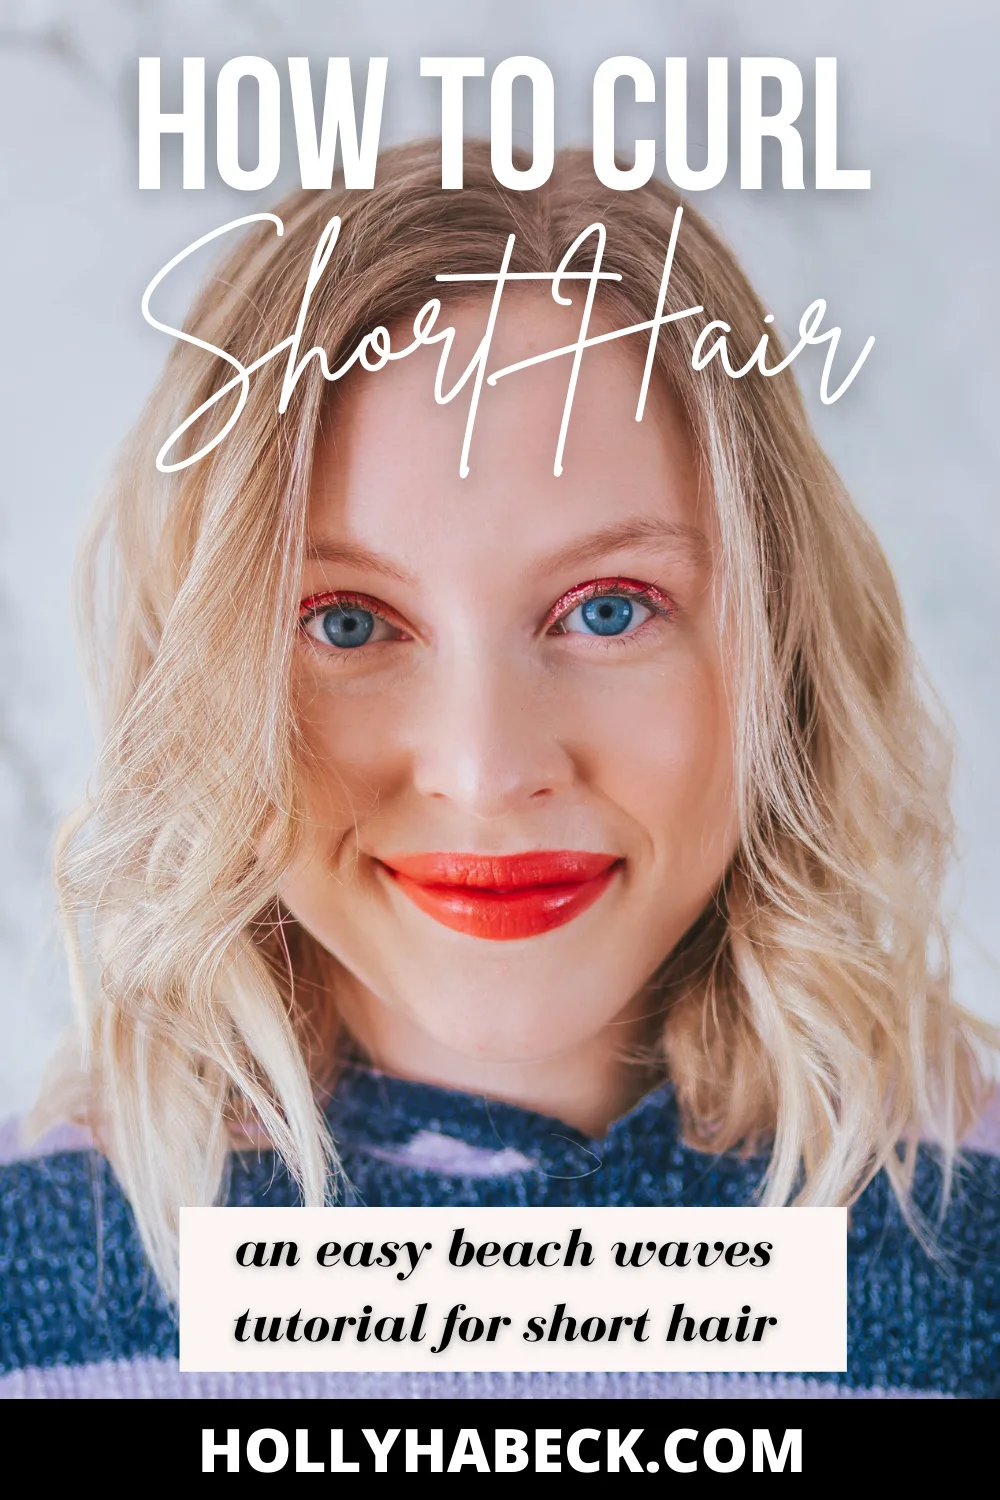
Wondering how to curl short hair, or looking for an easy beach waves short hair tutorial? Check out this step by step guide for the ultimate tips and tricks.
As an Amazon Associate I earn from qualifying purchases. Therefore, this post may contain affiliate links, meaning I make a small commission on qualifying purchases made through these links, at no additional cost to you.

I’ve always been a fan of beach waves.
They look so effortless yet chic, and give lots of added volume to any hairstyle.
However, I tend to wear my hair naturally, simply because I have a serious problem with getting up out of bed in the morning without hitting snooze at least three times.
Until recently, there never seemed to be a quick fix to achieving voluminous locks without sacrificing my beauty sleep.
Lucky for me (and you) though, I learned a few tips and tricks from my hairdresser after I told her I just had to have this Lucy Hale lob.
Keep reading to learn my best tips on how to curl short hair and find out my exact secrets to this beach waves short hair look!
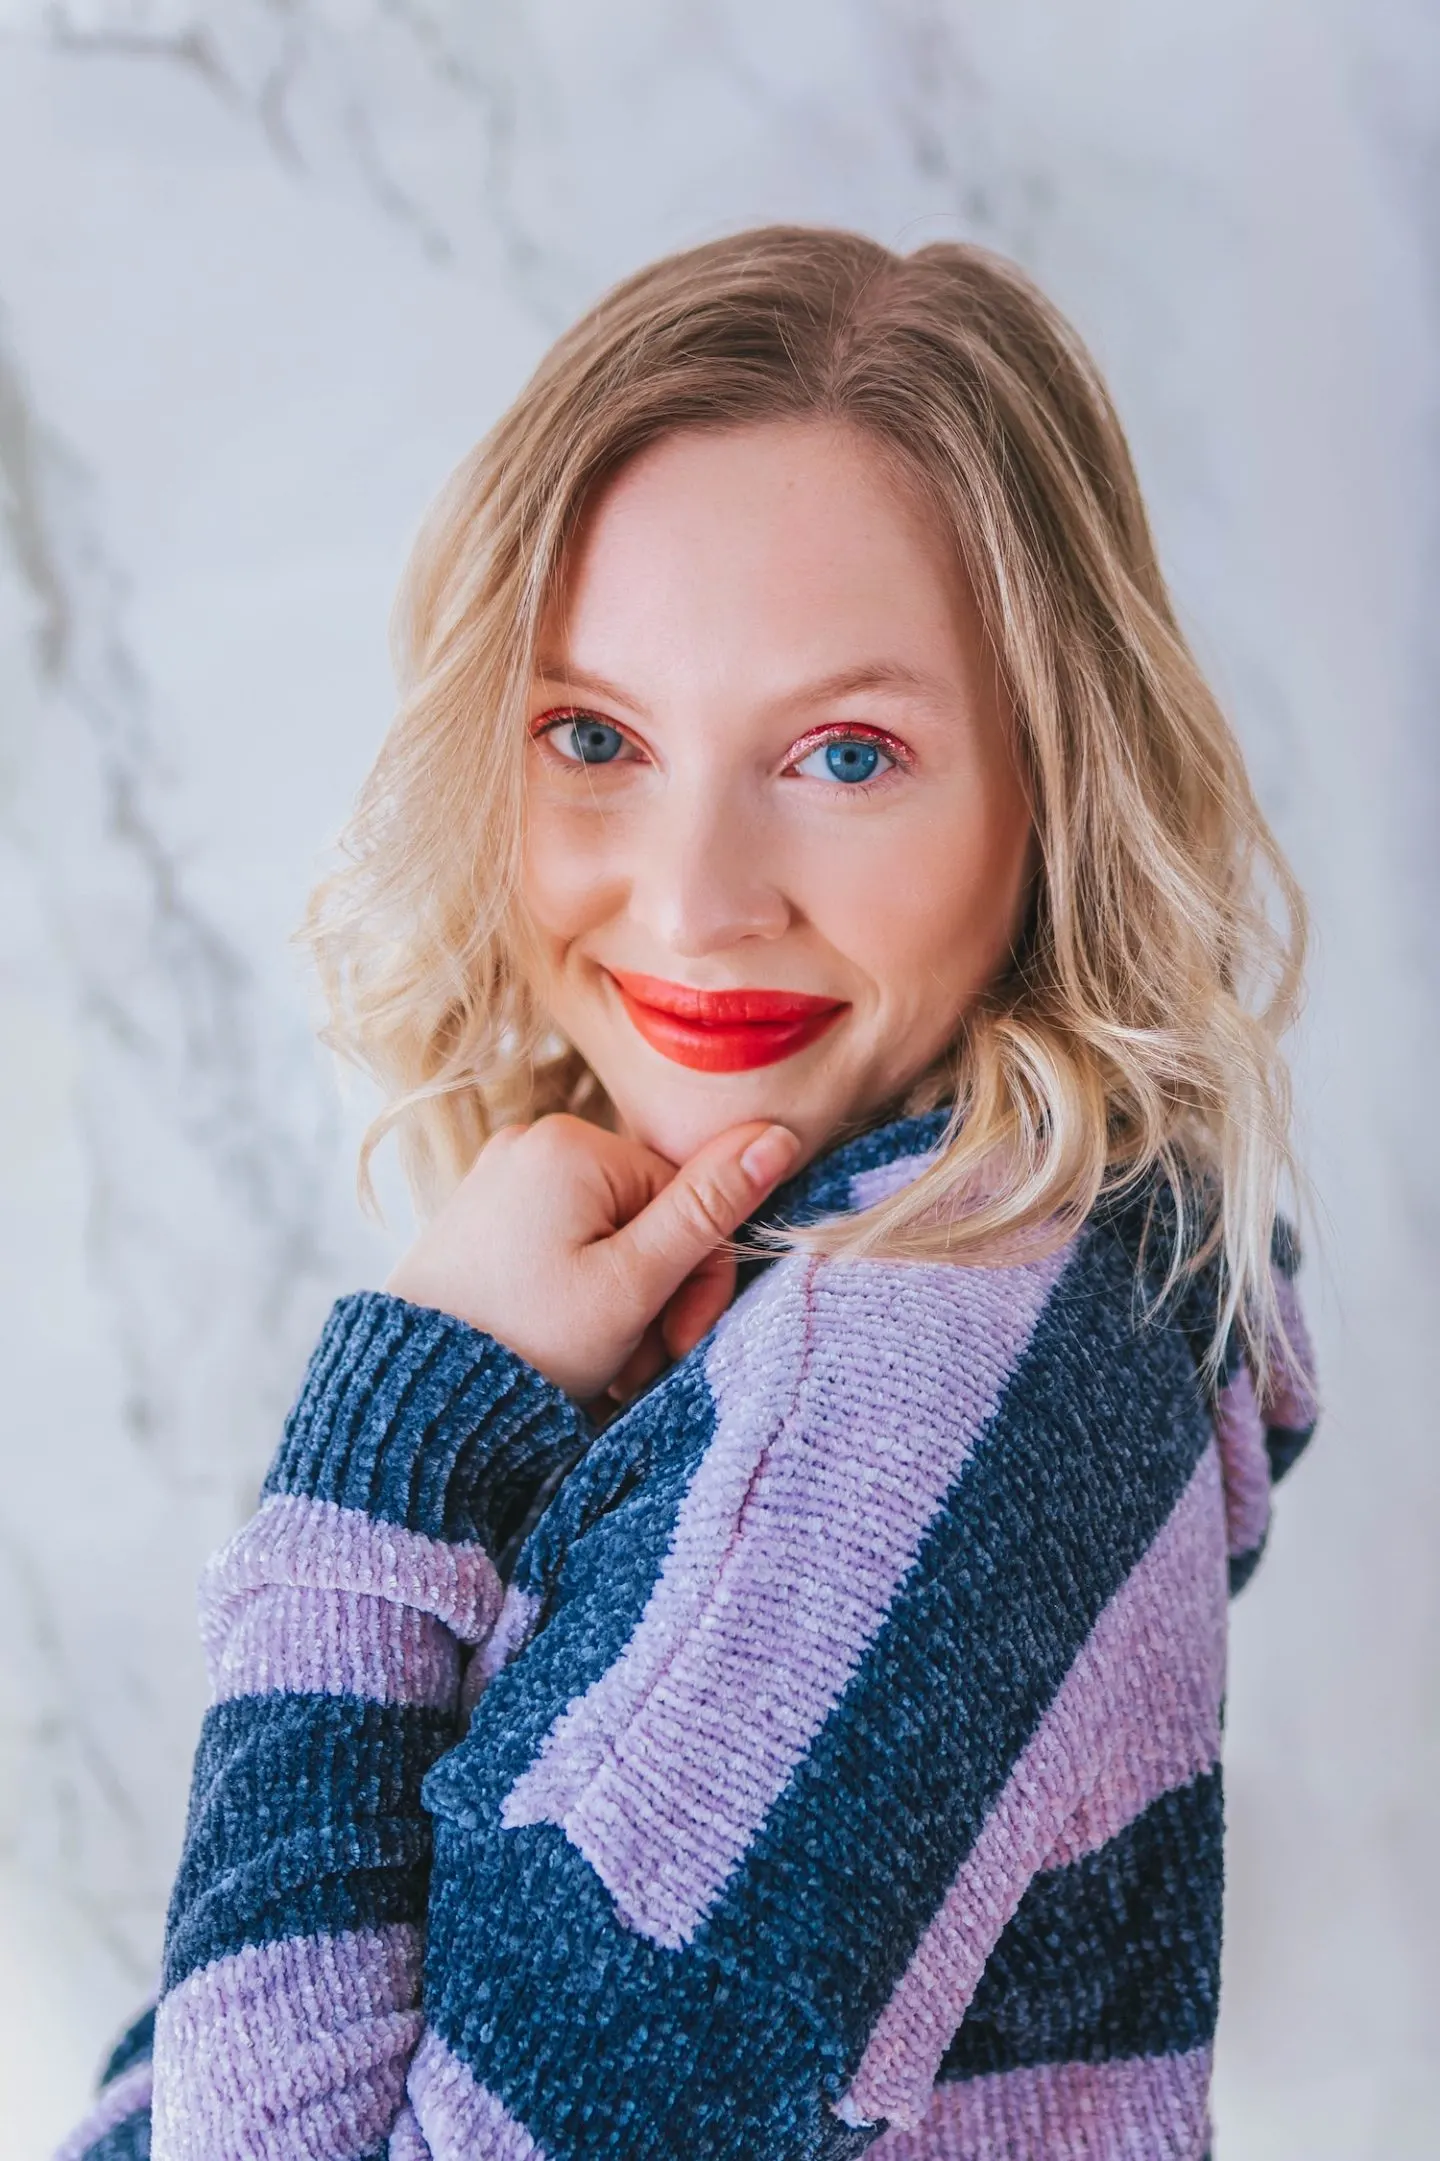
How to Curl Short Hair | Easy Beach Waves Short Hair Tutorial for Major Volume (Products)
Before we jump into this easy beach waves short hair tutorial, we of course need to discuss which hair products you’ll want to have on hand.
All the products listed here are obviously just suggestions, but they’re products that I personally love and actually use when I create this beach waves short hair look myself.
Volumizing Shampoo & Conditioner
 One mistake I’ve made in the past has been using just about any shampoo and conditioner that I could find.
That’s a total no.
Volumizing shampoo is where it’s at, especially if you have thin hair like me.
I personally use this volumizing shampoo and conditioner duo as a budget friendly option, or I like this shampoo and this conditioner for a more salon quality wash.
Anti-Residue Shampoo
Another critical tip for voluminous beach waves is my favorite anti-residue shampoo.
I talk about this shampoo in almost every hair tutorial I post, and for a good reason!
It’s a product I found in college and have used for years to help maintain the quality of my thin hair.
I use this anti-residue shampoo about once a week to get rid of any product buildup that tends to weigh down my fine hair, make it look greasy, and ultimately prevent me from achieving volume.
Seriously, it is a game changer if you have fine hair.
Dry Shampoo
Another product I like to have on hand when I’m doing this beach waves short hair style is dry shampoo.
If you have trouble achieving volume at your roots, this can be an awesome tool to help give your hair some more texture.
If you have blonde hair, makes sure you check out my post on the 25 Best Dry Shampoos for Blonde Hair!
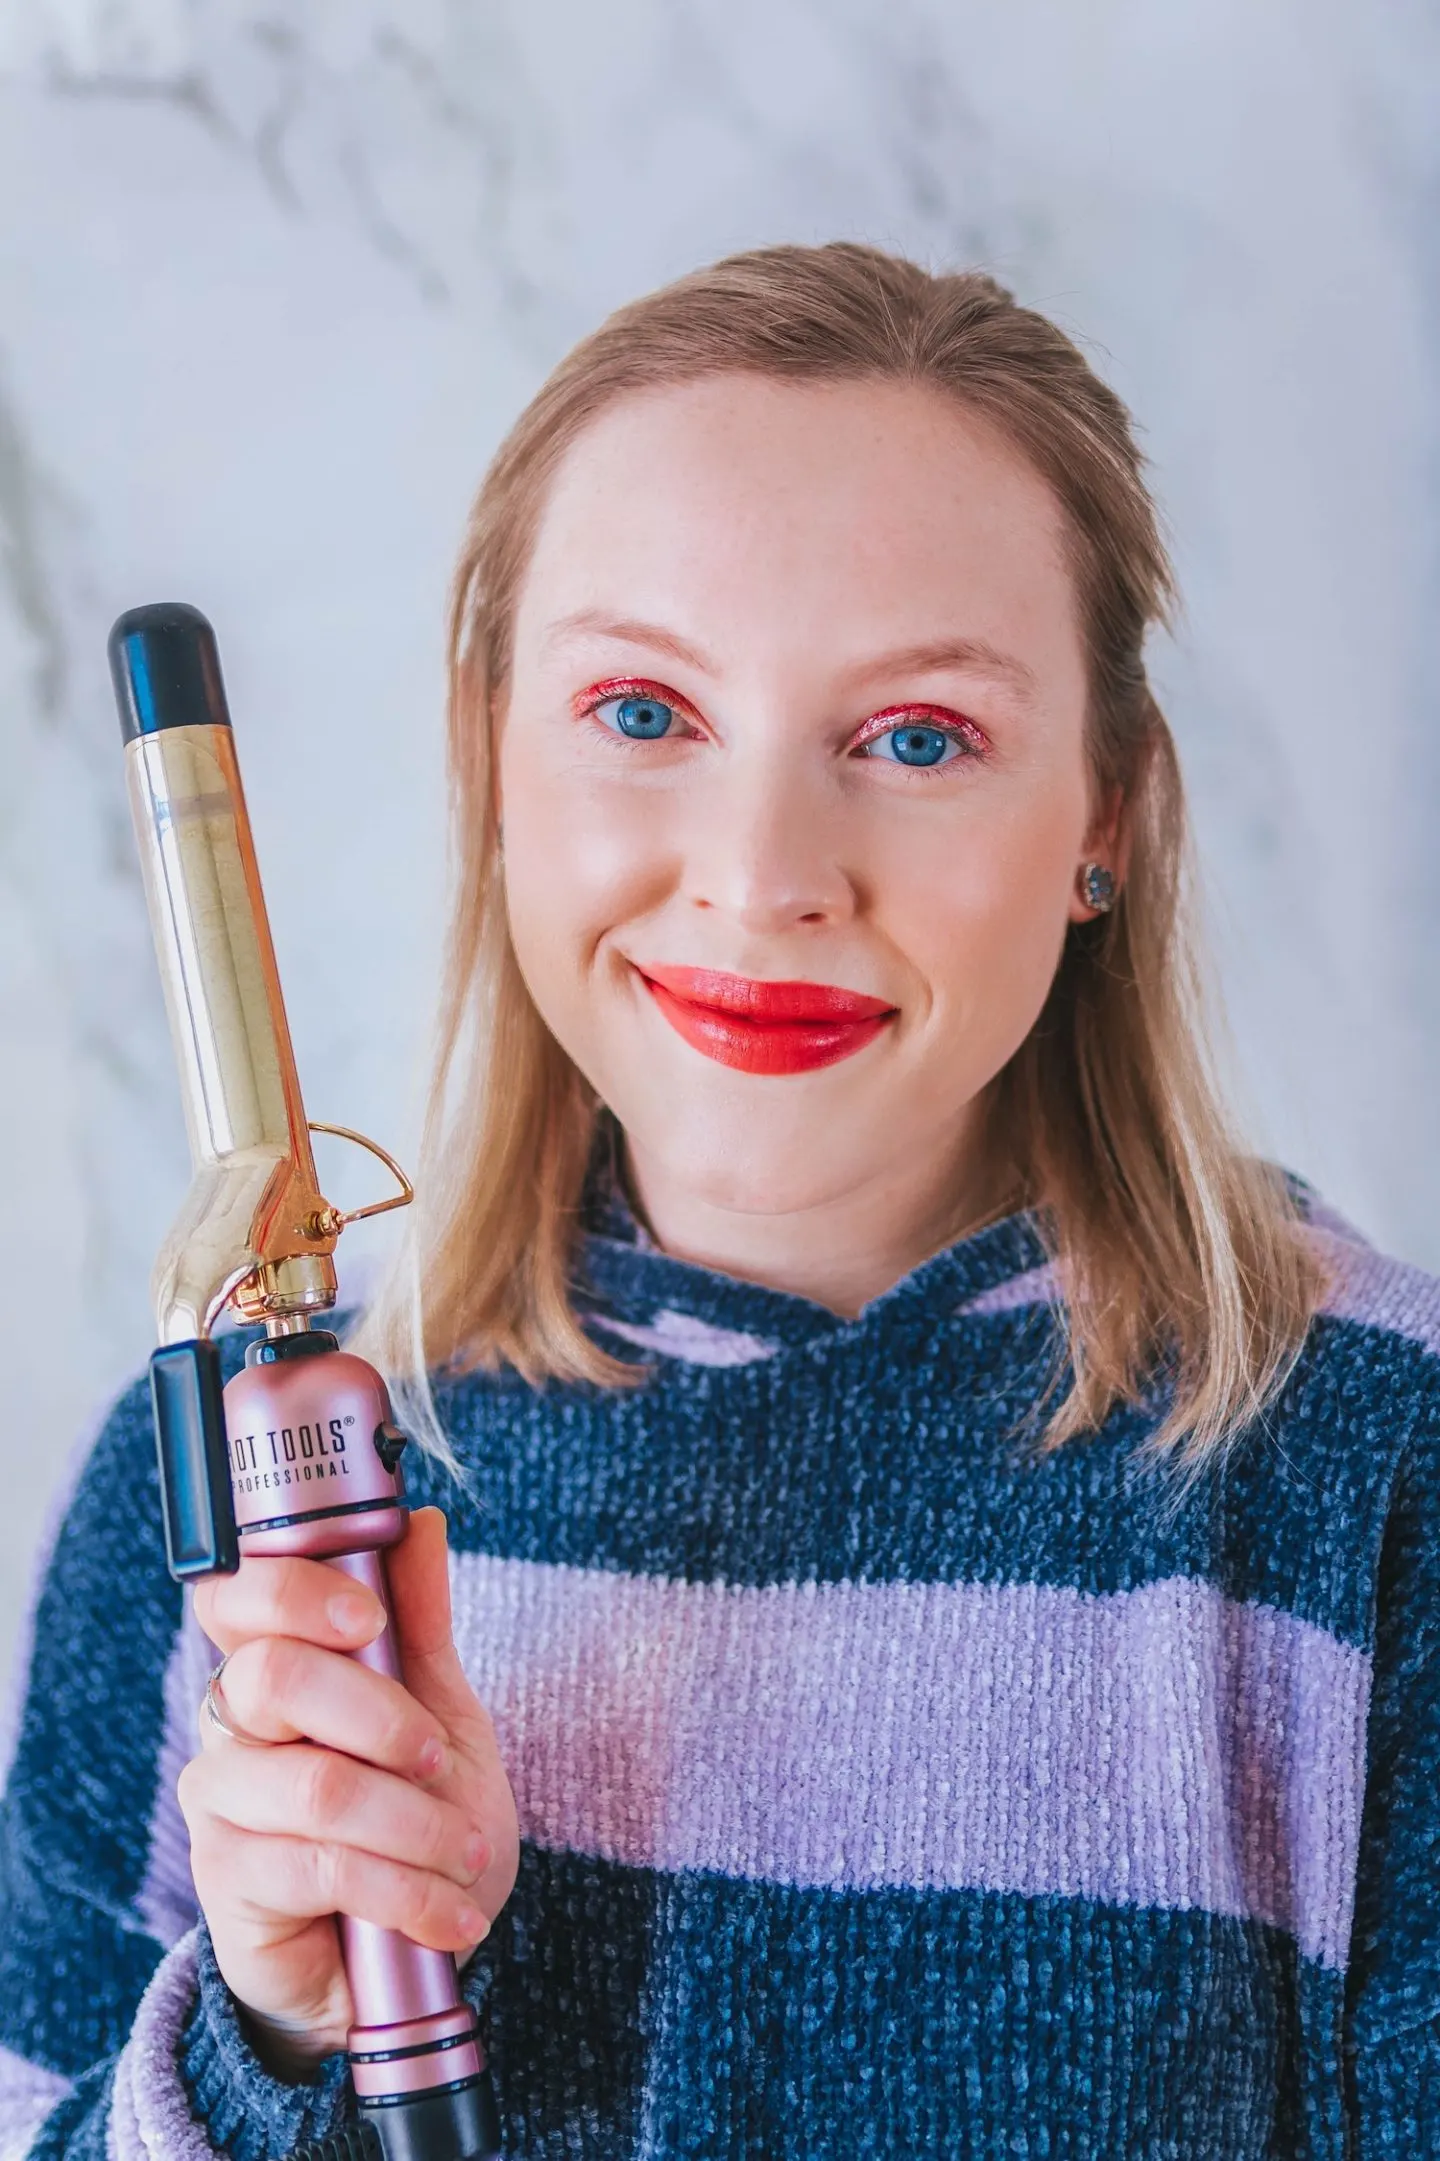
Hot Tools 1″ Curling Iron
For this tutorial on how to curl short hair, I’m using my 1″ Hot Tools curling iron.
Any 1″ curling iron should work, but I really like the products I have from Hot Tools and would definitely recommend them if you’re in the market for a new curling iron.
Hairspray
Another item you’ll also want for this tutorial is a good hairspray.
I like aerosols much better than a spray bottle pesonally, because I think they are easier to apply evenly to your hair.
Also, this volumizing hairspray is one of my favorite drugstore options for holding curls.
Manipulator
Last but not least, I also like to use this manipulator whenever I’m doing beach waves for short hair.
This is a product my hairstylist recommended to me, and I find it extremely helpful for creating more texture and also giving the beach waves a subtle hold without becoming too stiff and unnatural looking.
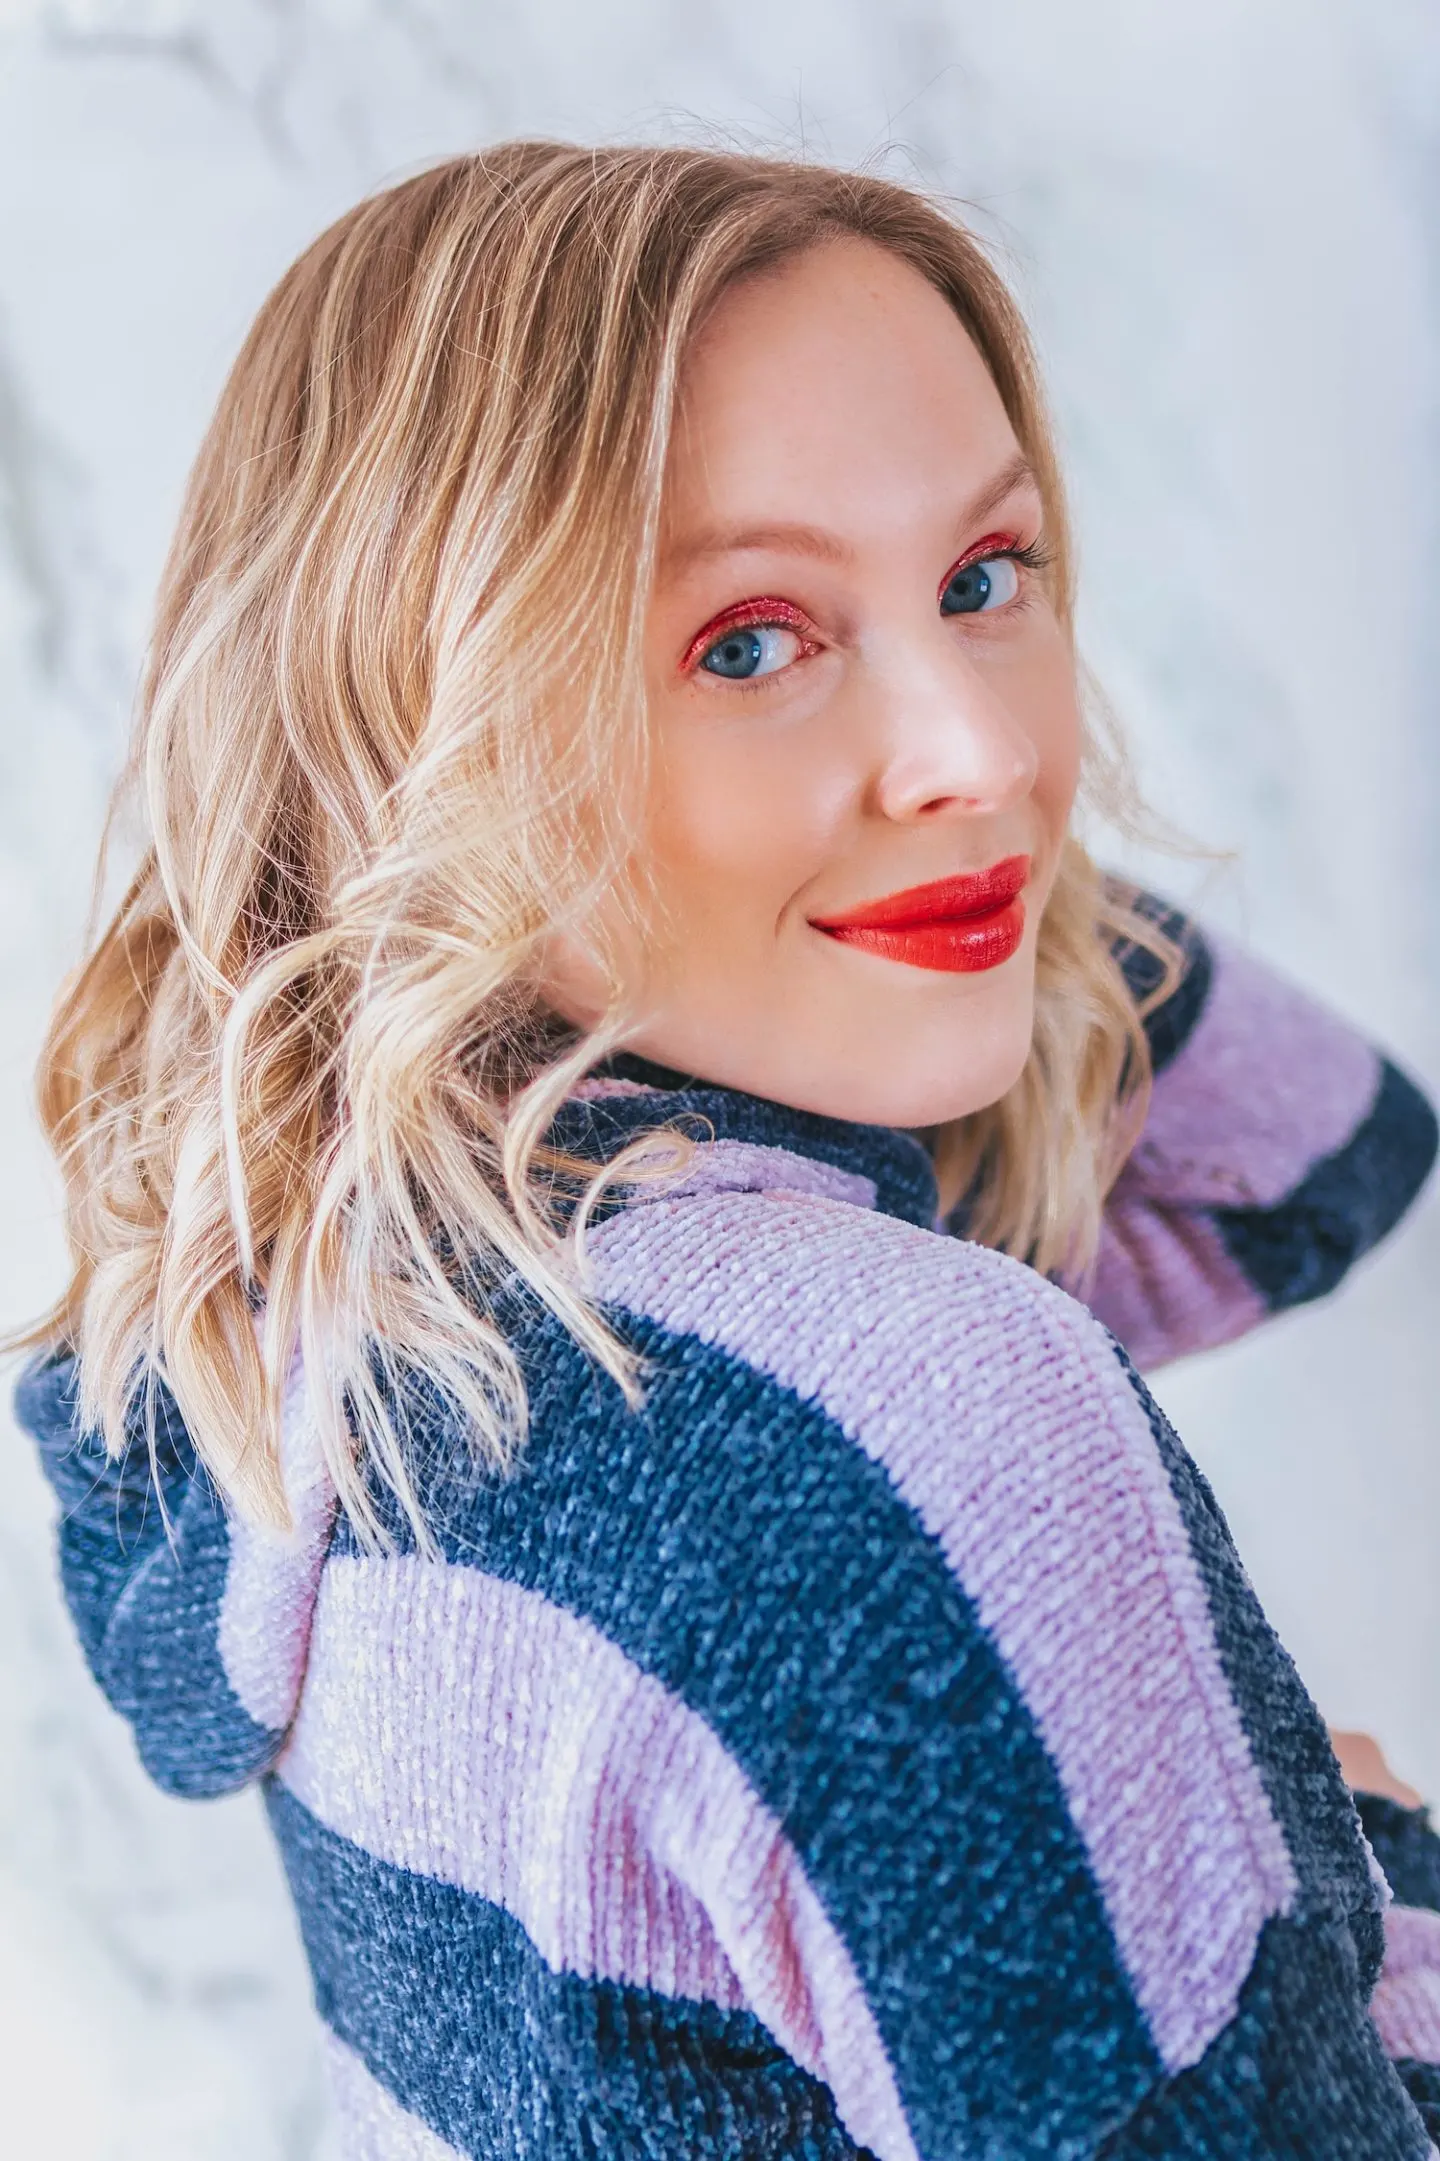
How to Curl Short Hair | Easy Beach Waves Short Hair Tutorial for Major Volume (Tutorial)
Now that we’ve reviewed all of the recommended products for this tutorial on how to curl short hair, let’s get into the actual styling!
1. Start With Completely Dry Hair (A Little Dirty is a Good Thing!)
You’ll start this how to curl short hair tutorial off with completely dry hair.
In these photos, I had actually just washed mine and done an at-home blowout with my Hot Tools Professional 24K Gold One Step Dryer Volumizer.
That being said, it’s actually better if your hair is a bit on the dirtier side because it will help fine hair to hold the curl better throughout the day.

2. Divide Hair In Two Sections (Or More, If You Have Thick Hair)
Next, divide your hair into two sections, using a hair tie (I like these gentle hair ties the best) or a hair clip.
If you have thick hair you may need to divide your hair into even more sections, but this is what works for me.

3. Start Curling the Bottom Layer First
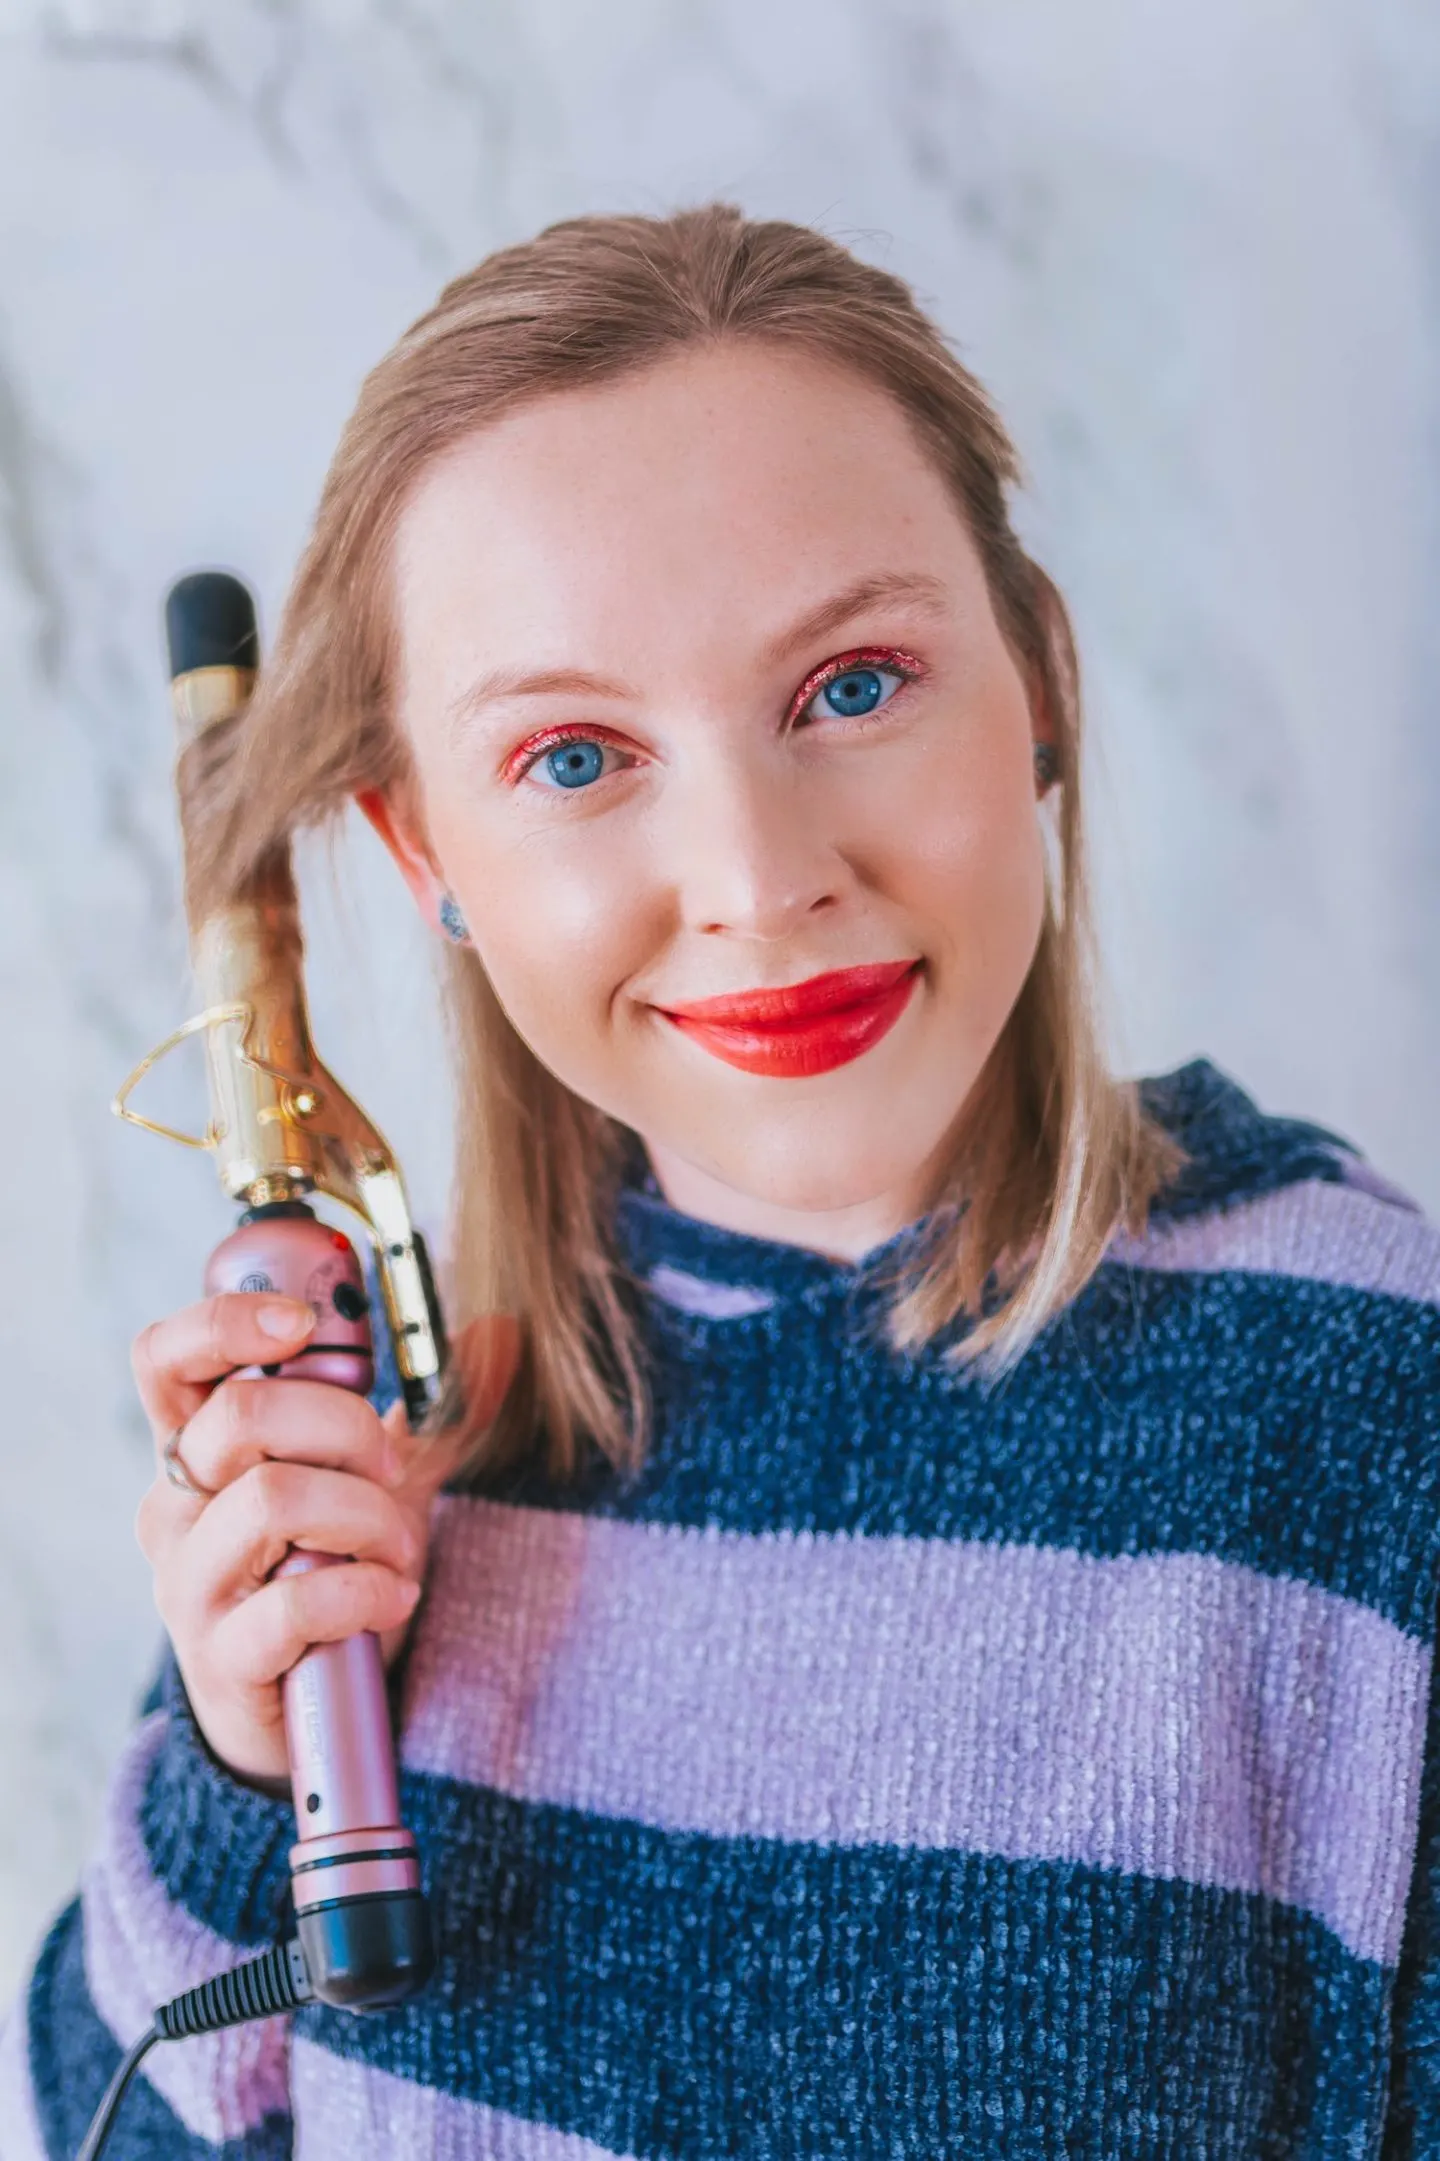
This step is simple. Start curling!
I use my 1″ iron and make sure to style in medium sized chunks away from my face.
You can determine which temperature to use based on your hair type.
I only hold the iron in place for about 5-10 seconds and then release, which creates soft, loose curls.
Another tip is to leave about 1/2-1″ of hair out at the bottom, so that it does not really get curled.
It may sound a bit odd if you’ve never tried this, but trust me it will result in much looser, beachy looking curls than having a perfect spiral down to the bottom of each section.
4. Repeat Steps on the Next Layer of Hair
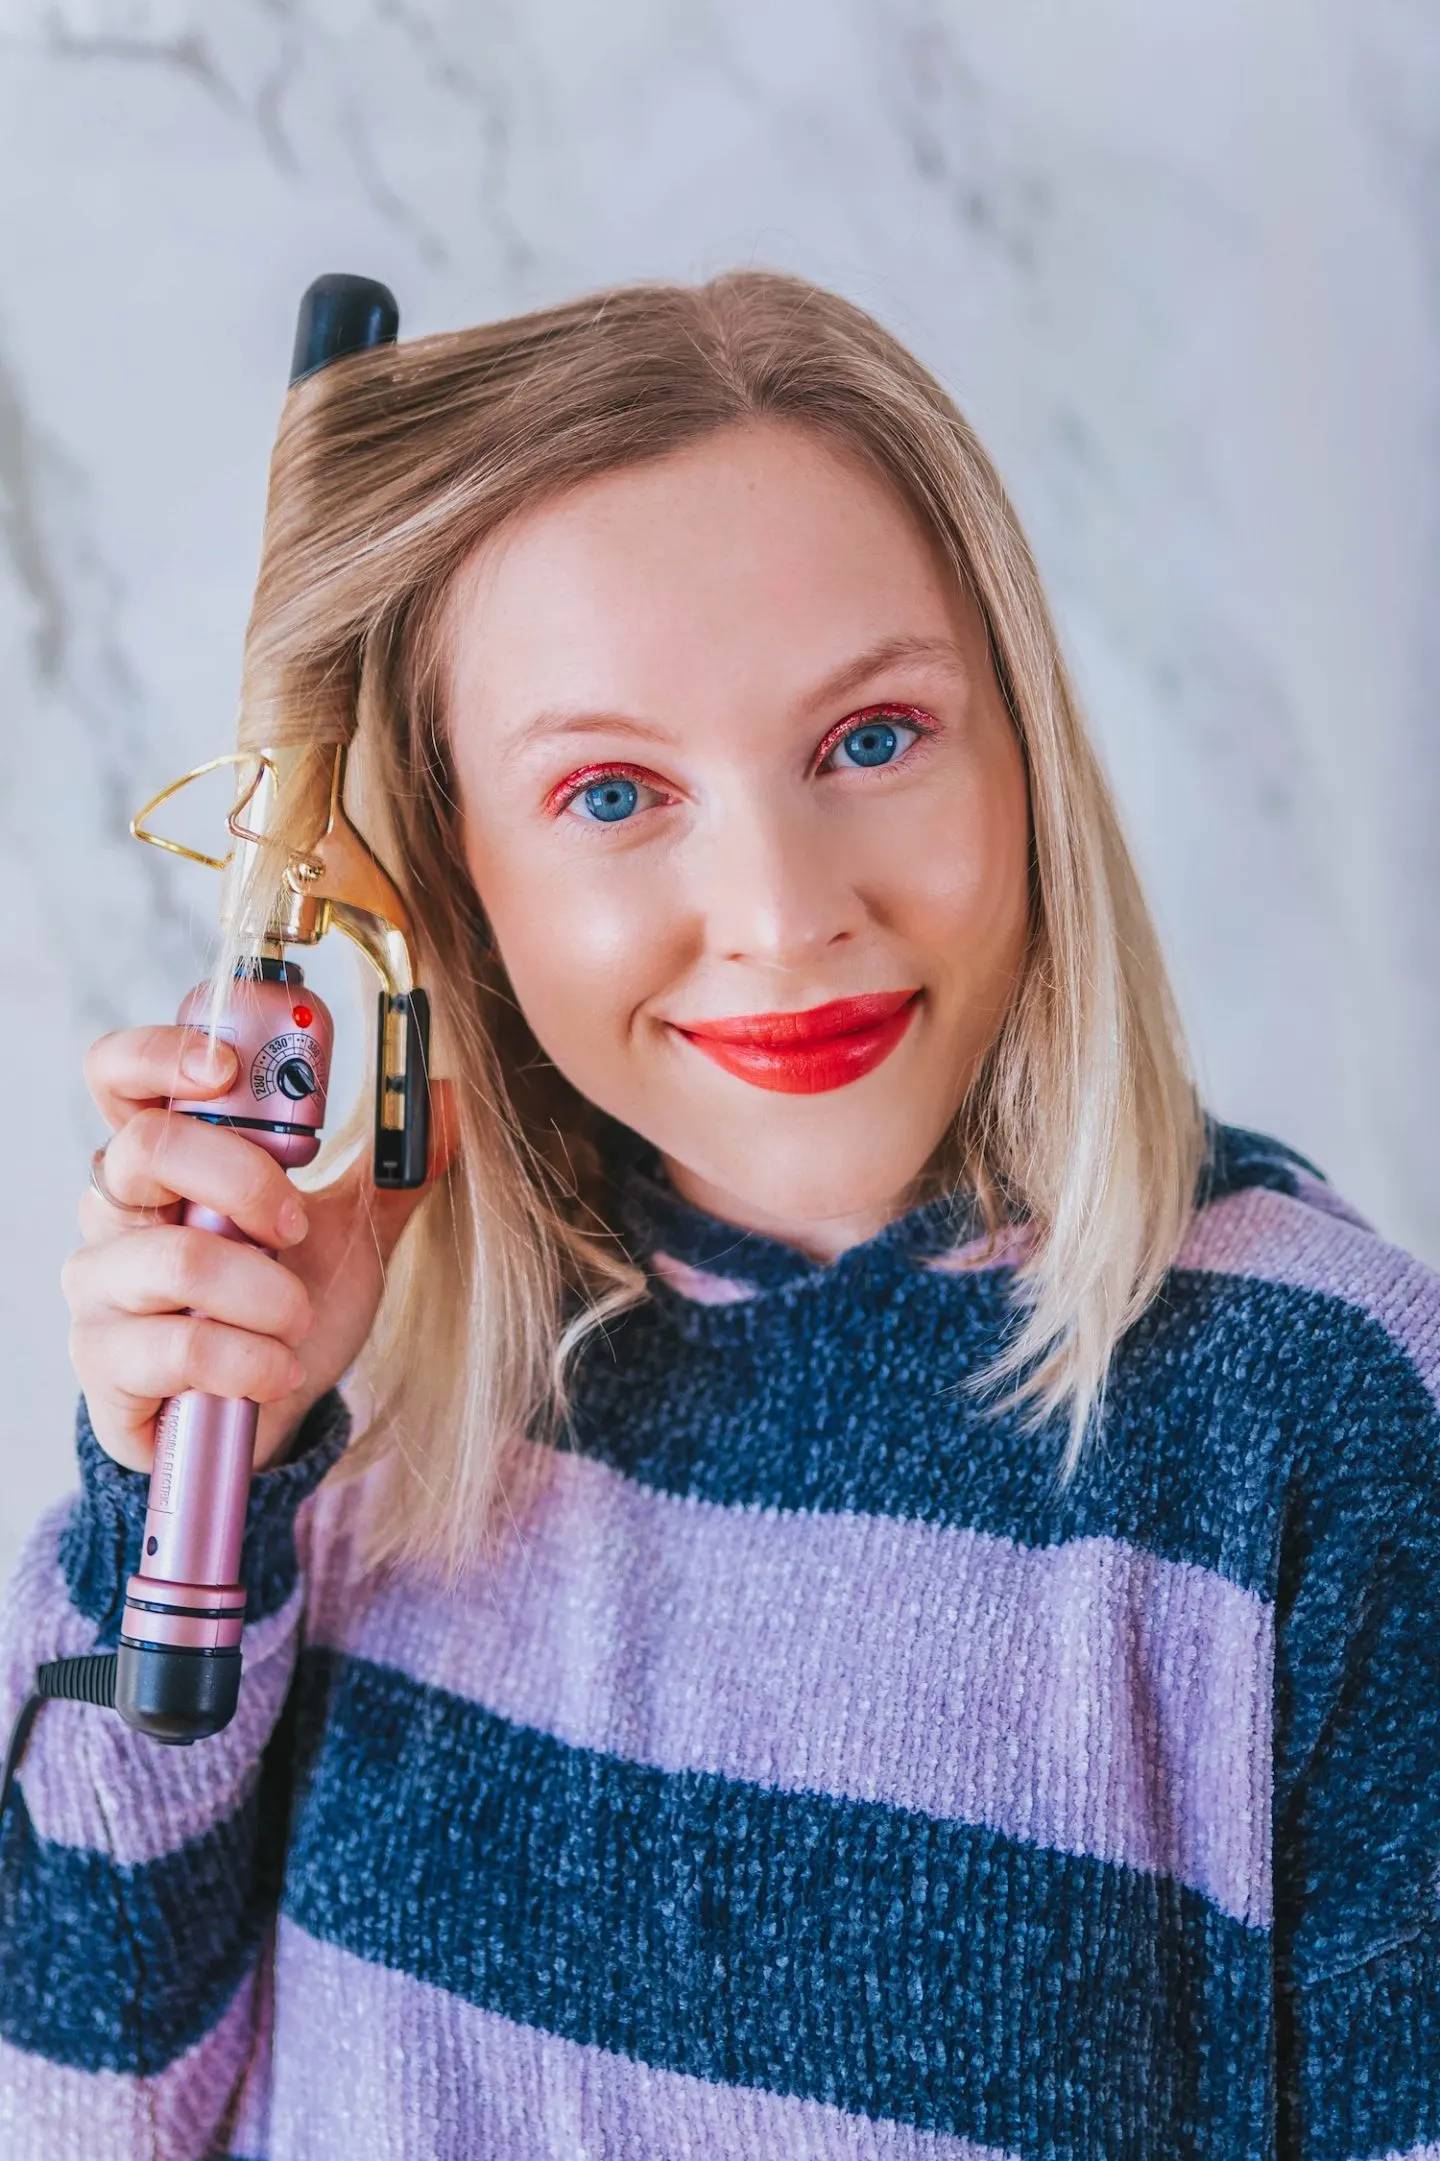
Once you’re done curling your bottom layer of hair, it’s time to move onto the next layer (for me, this is the top layer).
Since the bottom layer of your hair is typically shorter than the top (and therefore harder to curl), the top section of your hair is where the more important curls that will really define your style will be.
Don’t be surprised if after just curling the bottom layer of your hair, it looks like my photo below.
I promise it will really come together once you put the top layer of curls in!
Related: How to Do a Messy Bun With Thin Hair

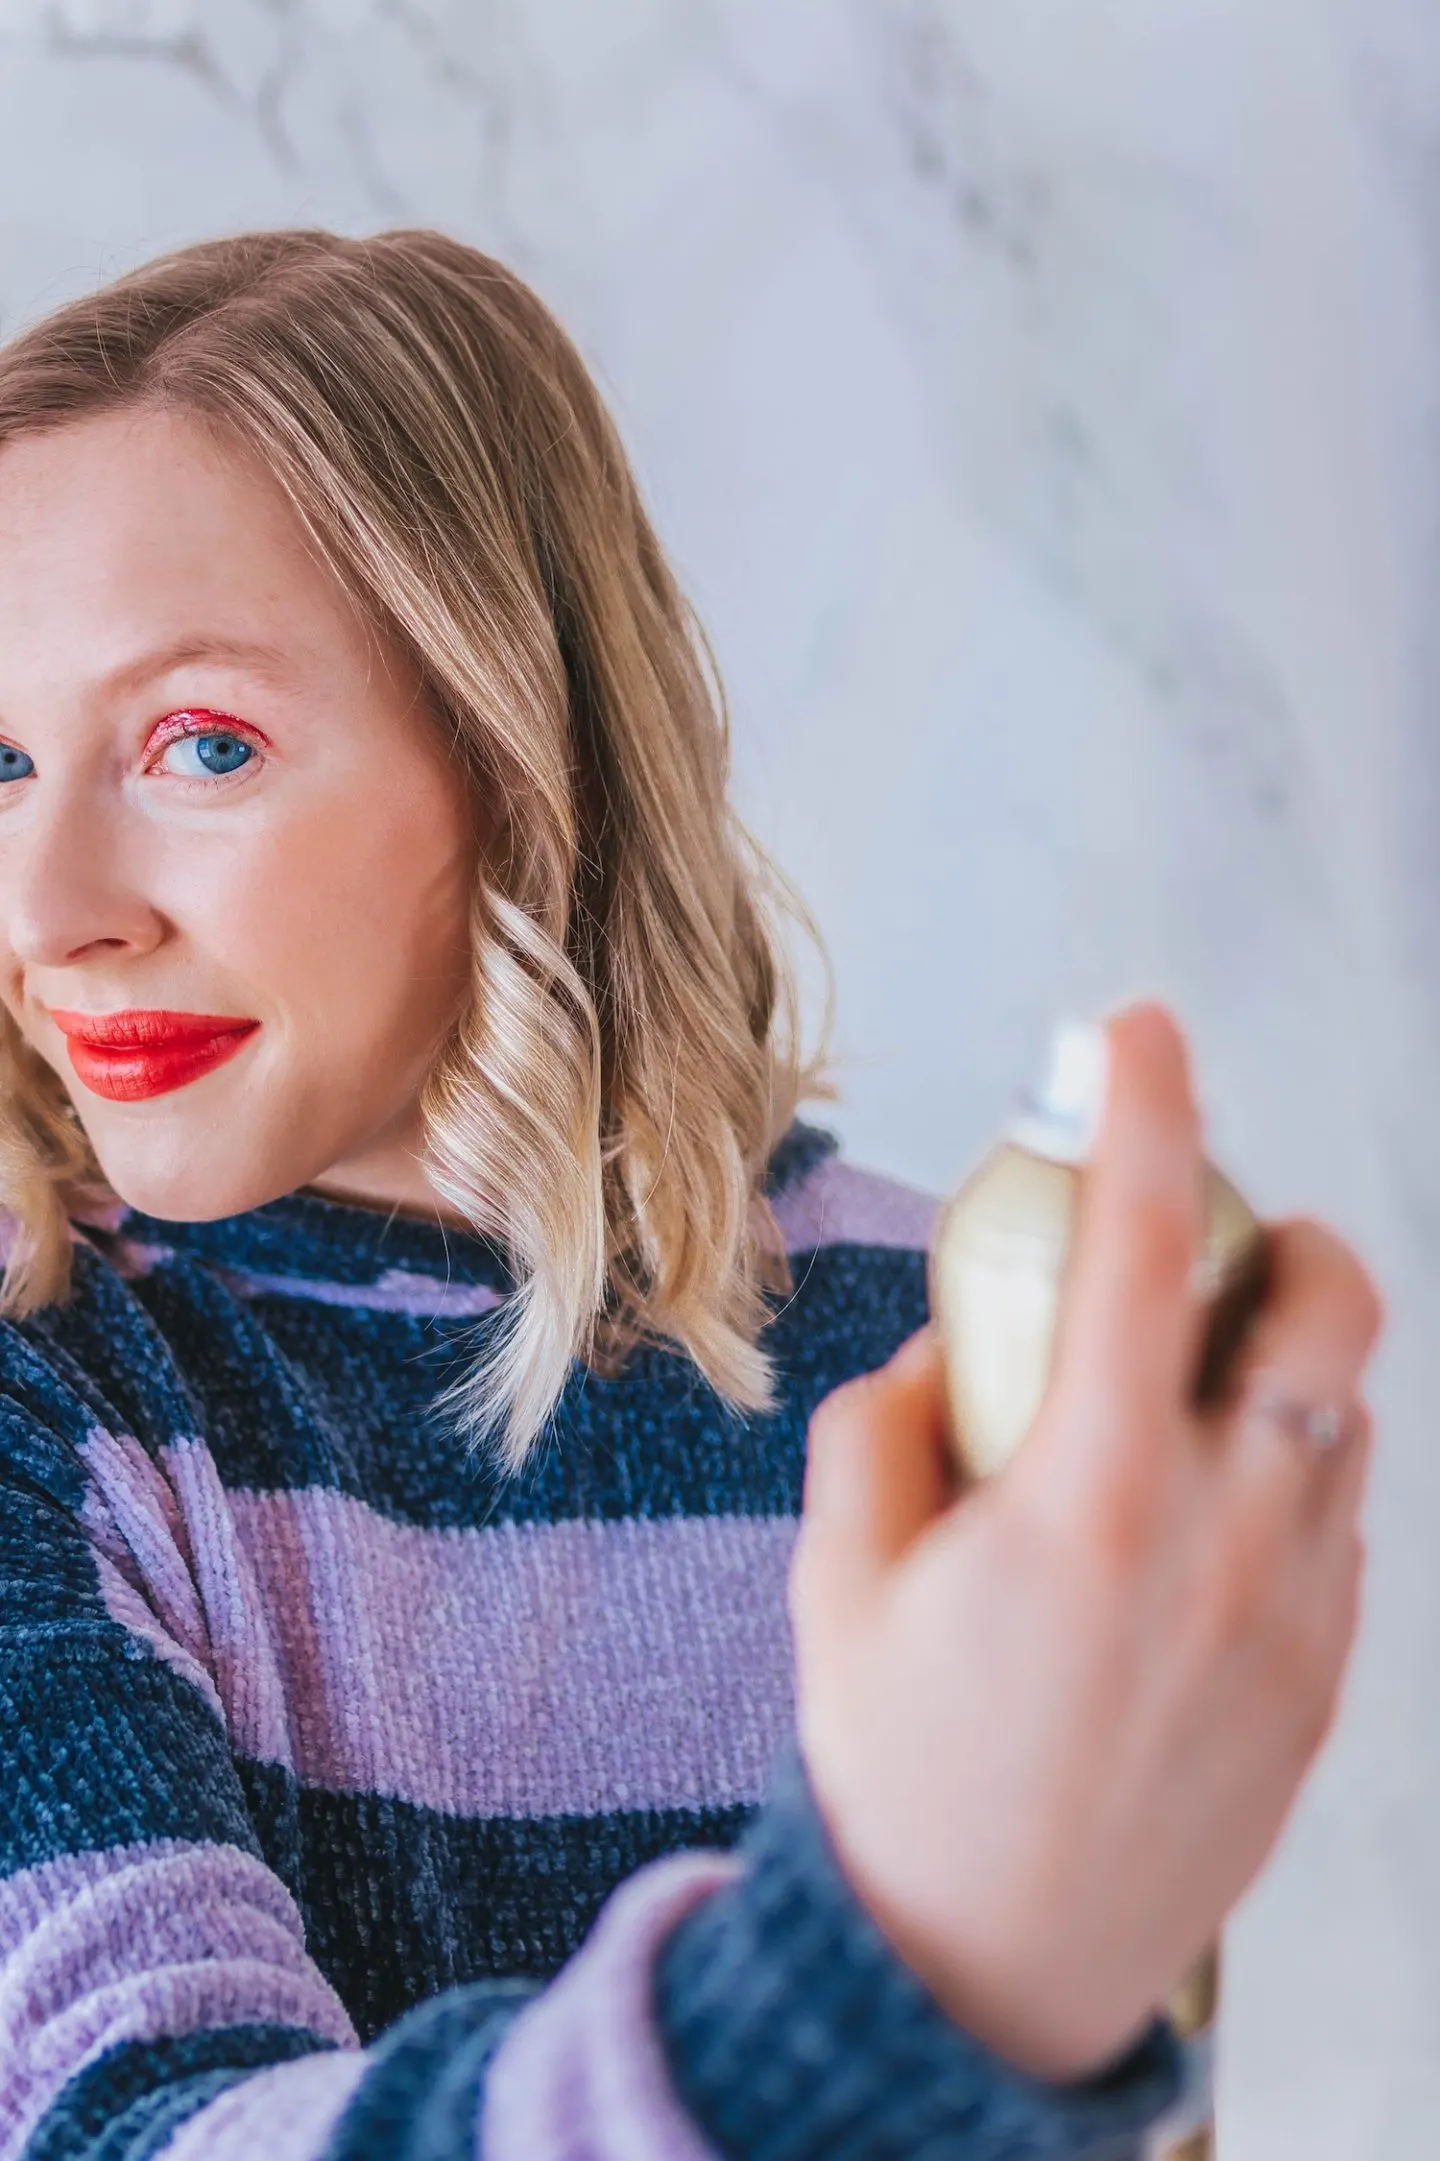
5. Lightly Set With Hairspray
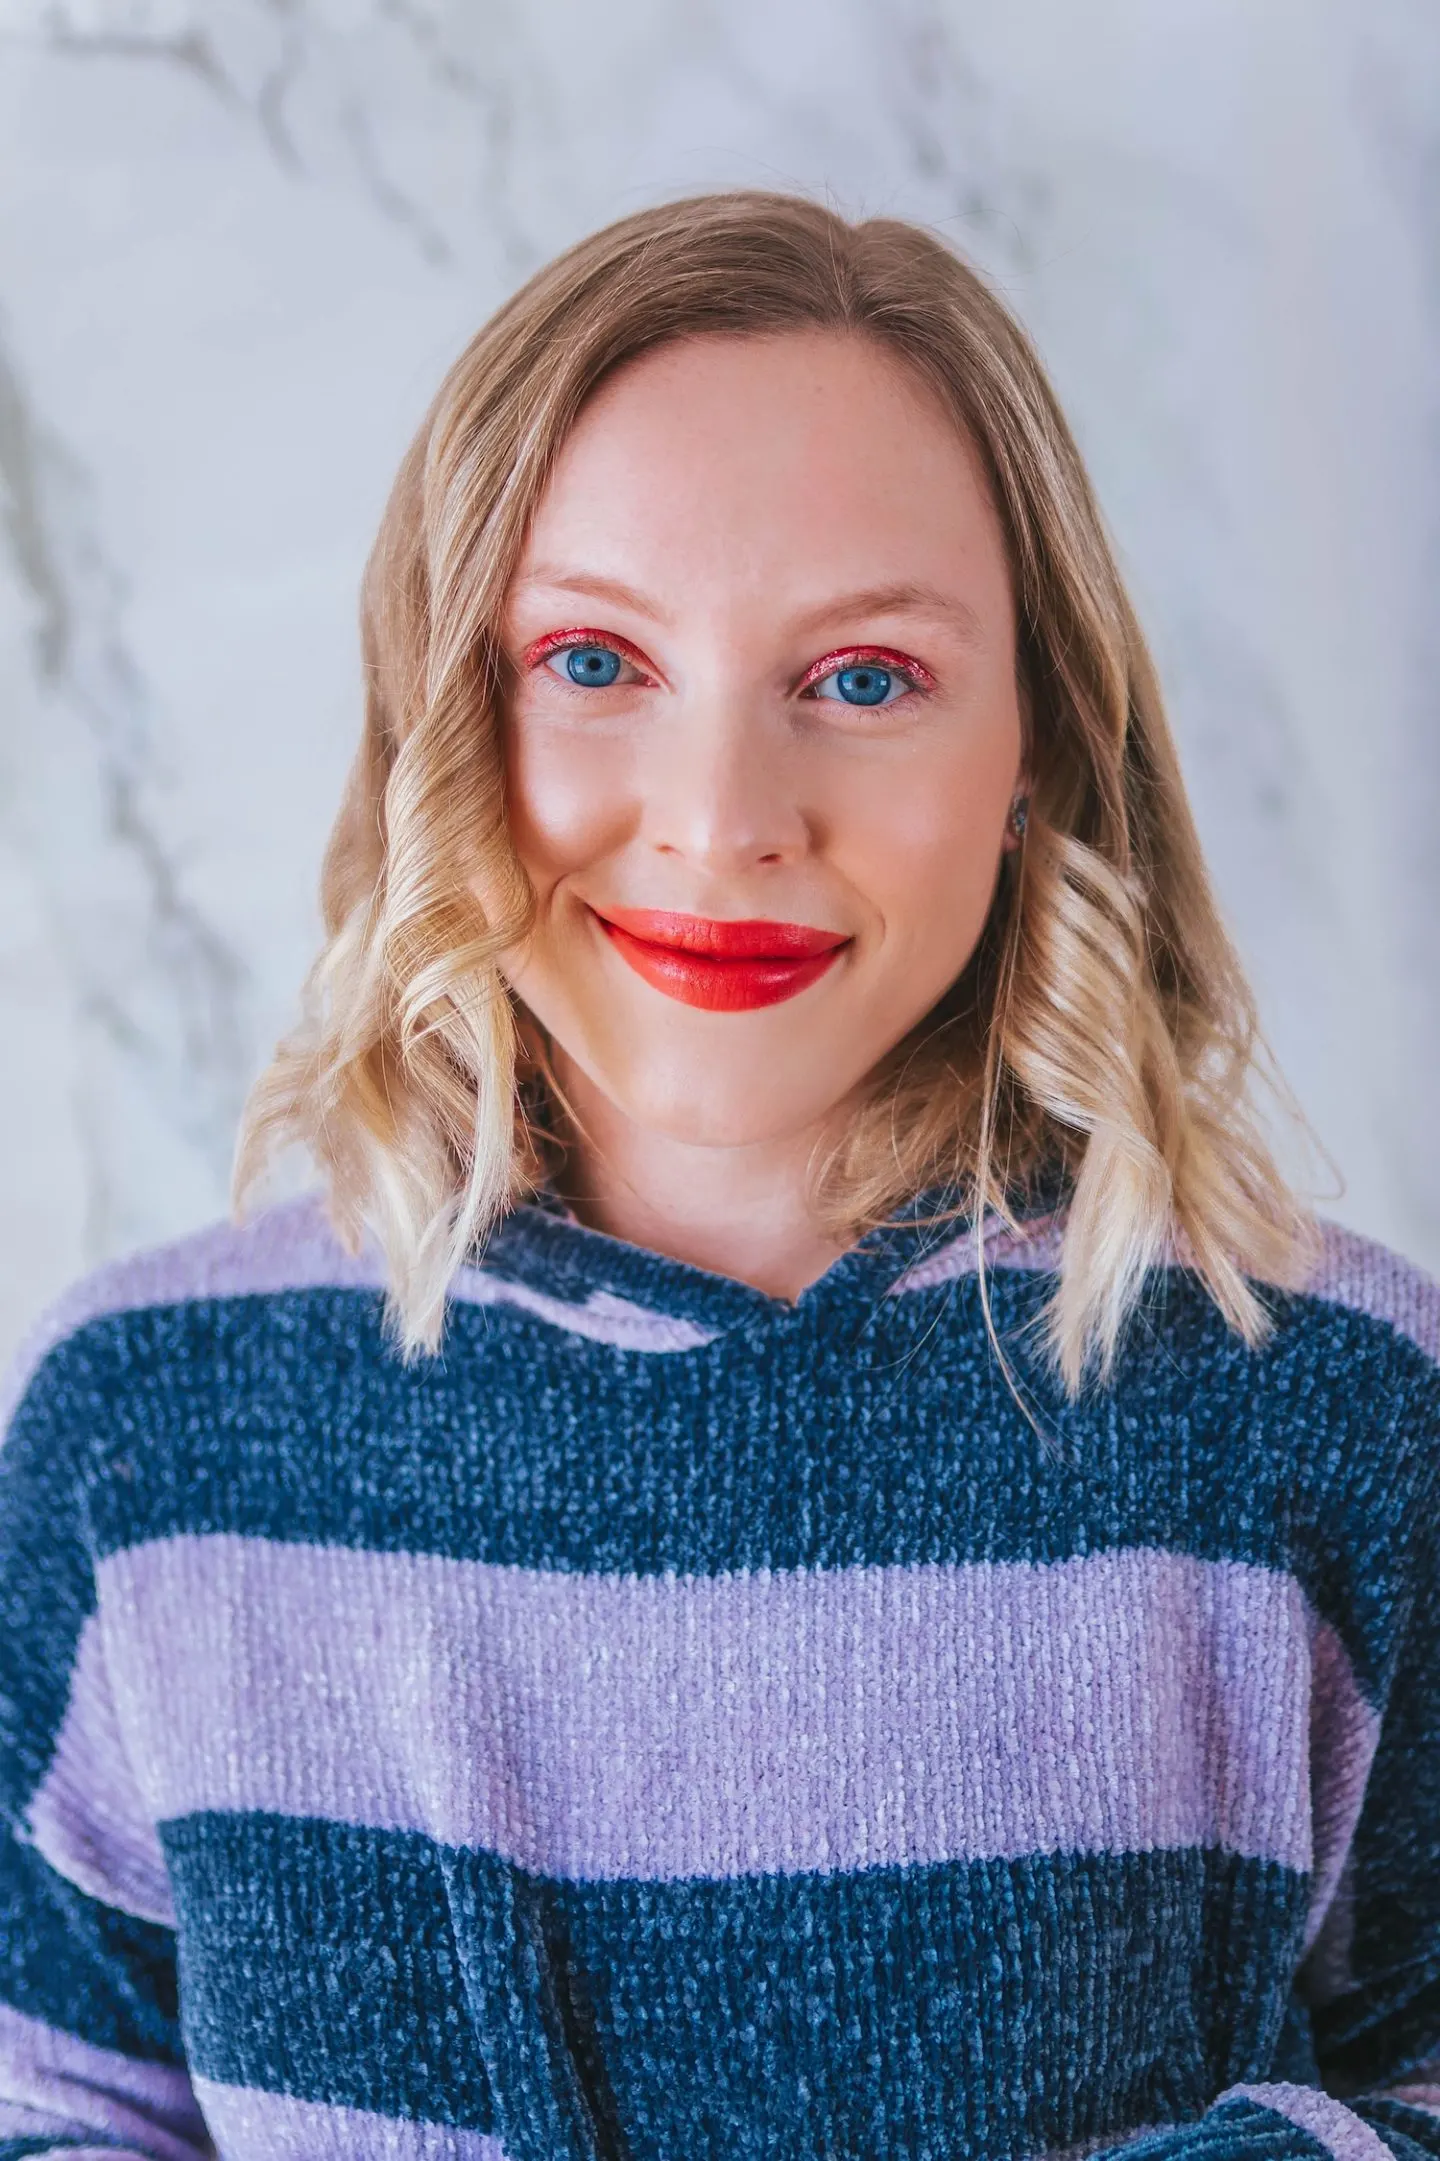
Once you’re done curling the top layer of your hair, you’re going to be left with something that looks like the below image.
It’s not a terrible look, but we can make it a lot beachier and more natural looking with a few more steps.
The first thing you’ll want to do though when you’re done putting your curls in is to lightly set the curls with your favorite hairspray.
I like a hairspray with a light hold, so my curls don’t get too stiff.
That being said, if your hair doesn’t hold a curl very well you may want to find something with a bit more staying power (I like this one for an extra strong hold).
6. Shake It Out
Once you’ve gone in with your hairspray, give it a few seconds to dry.
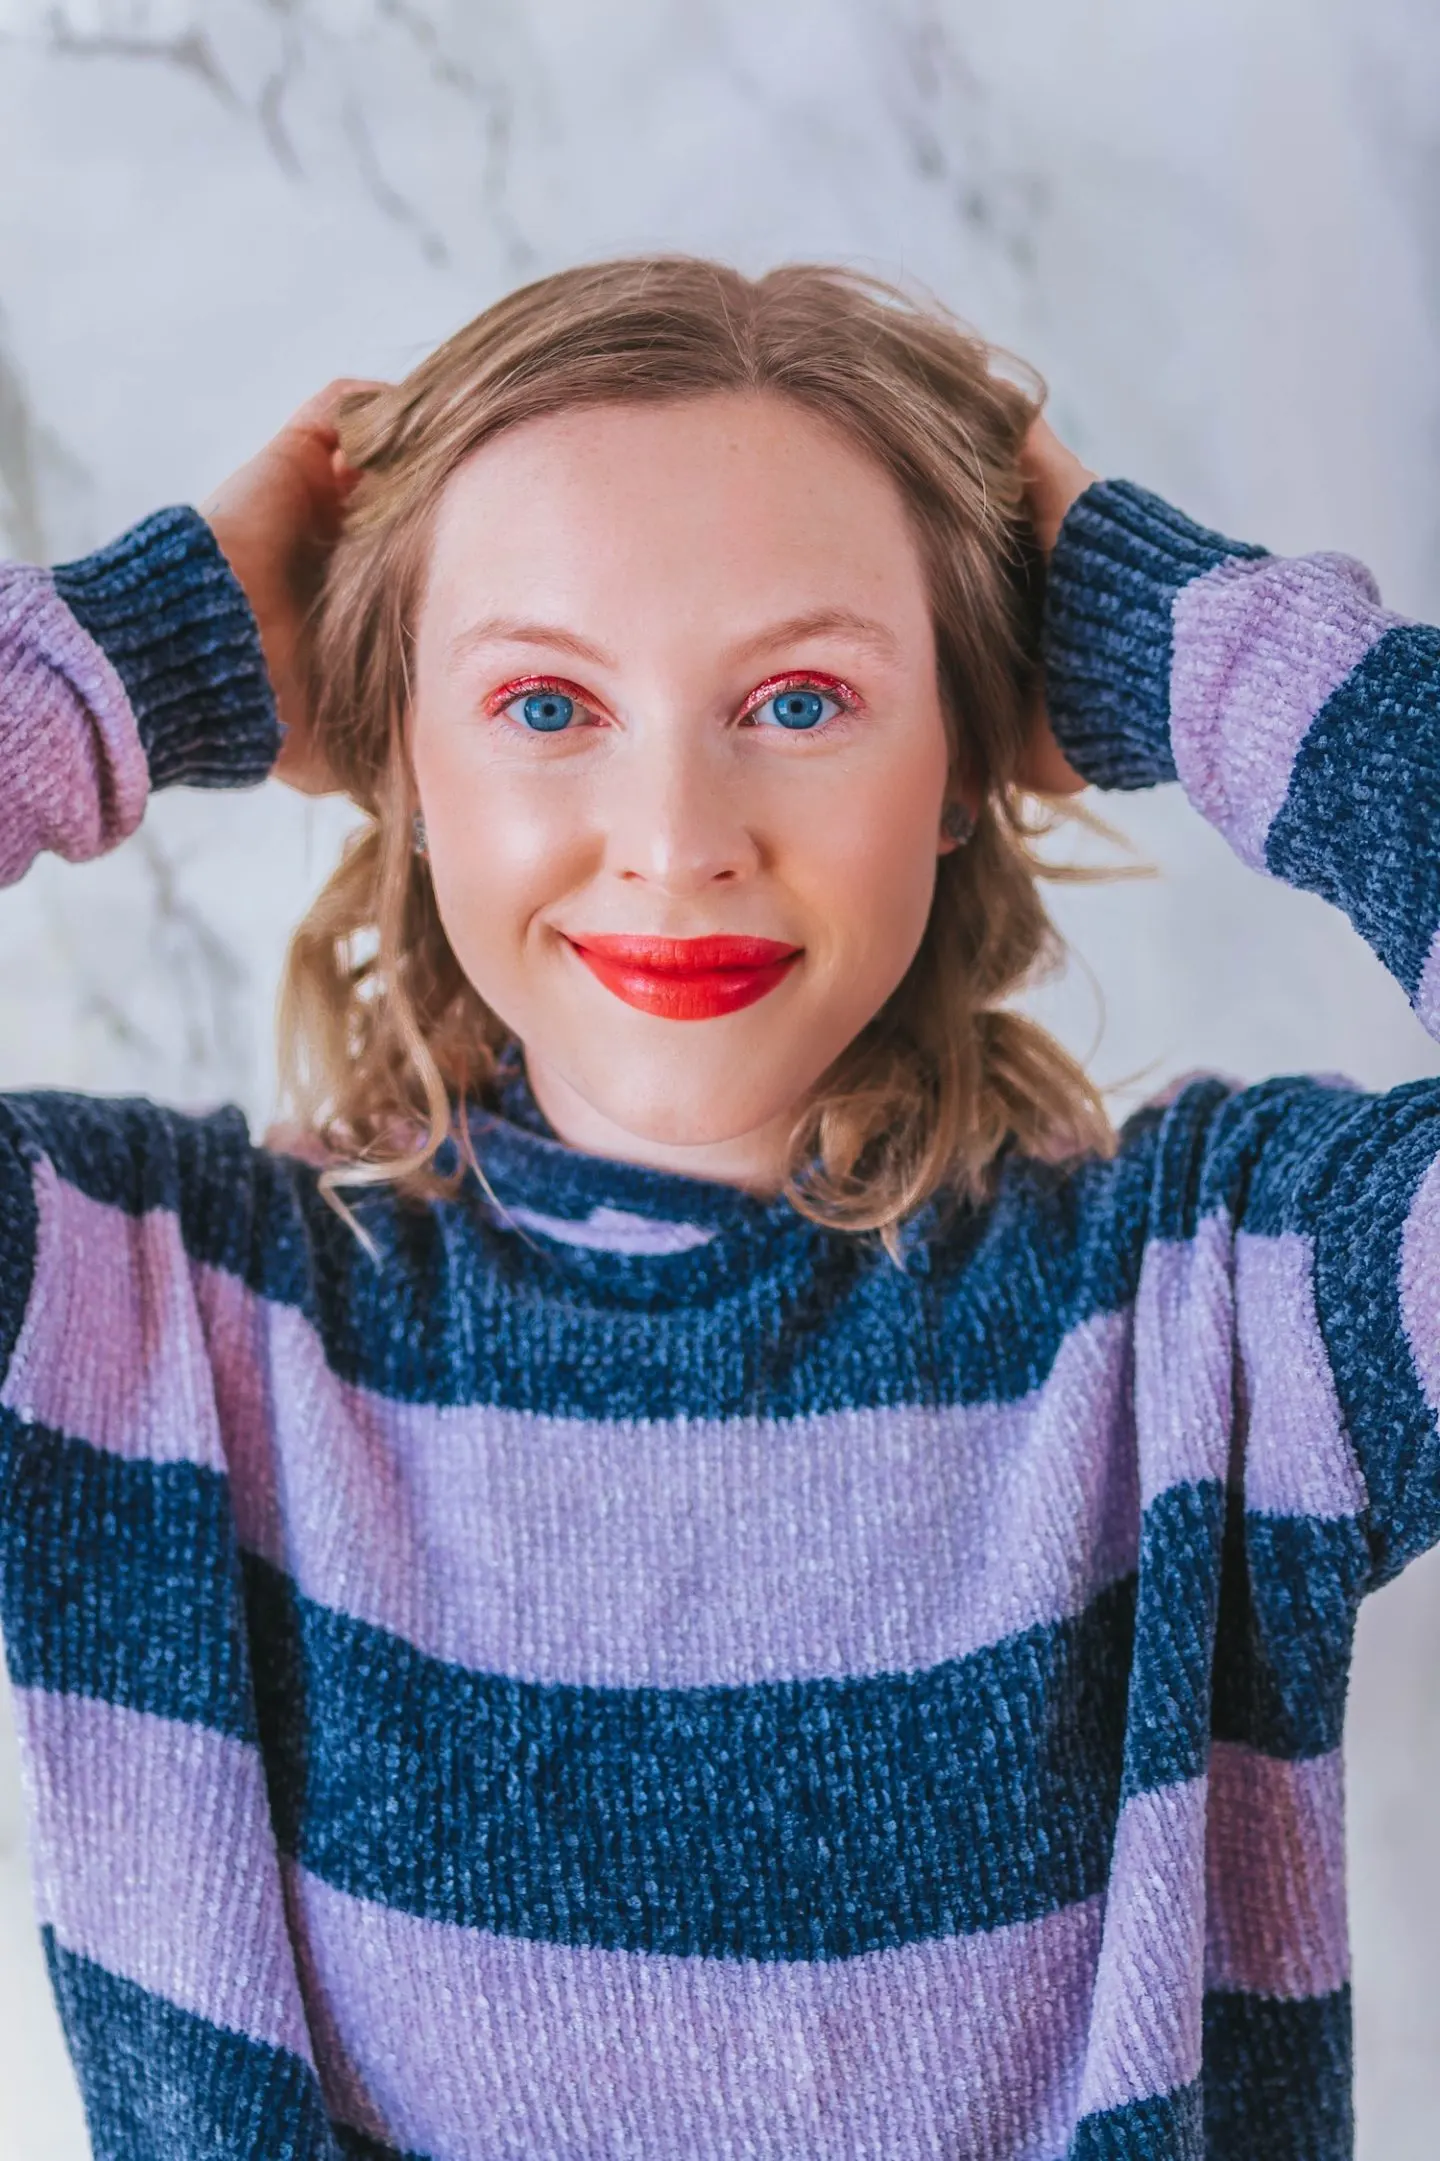
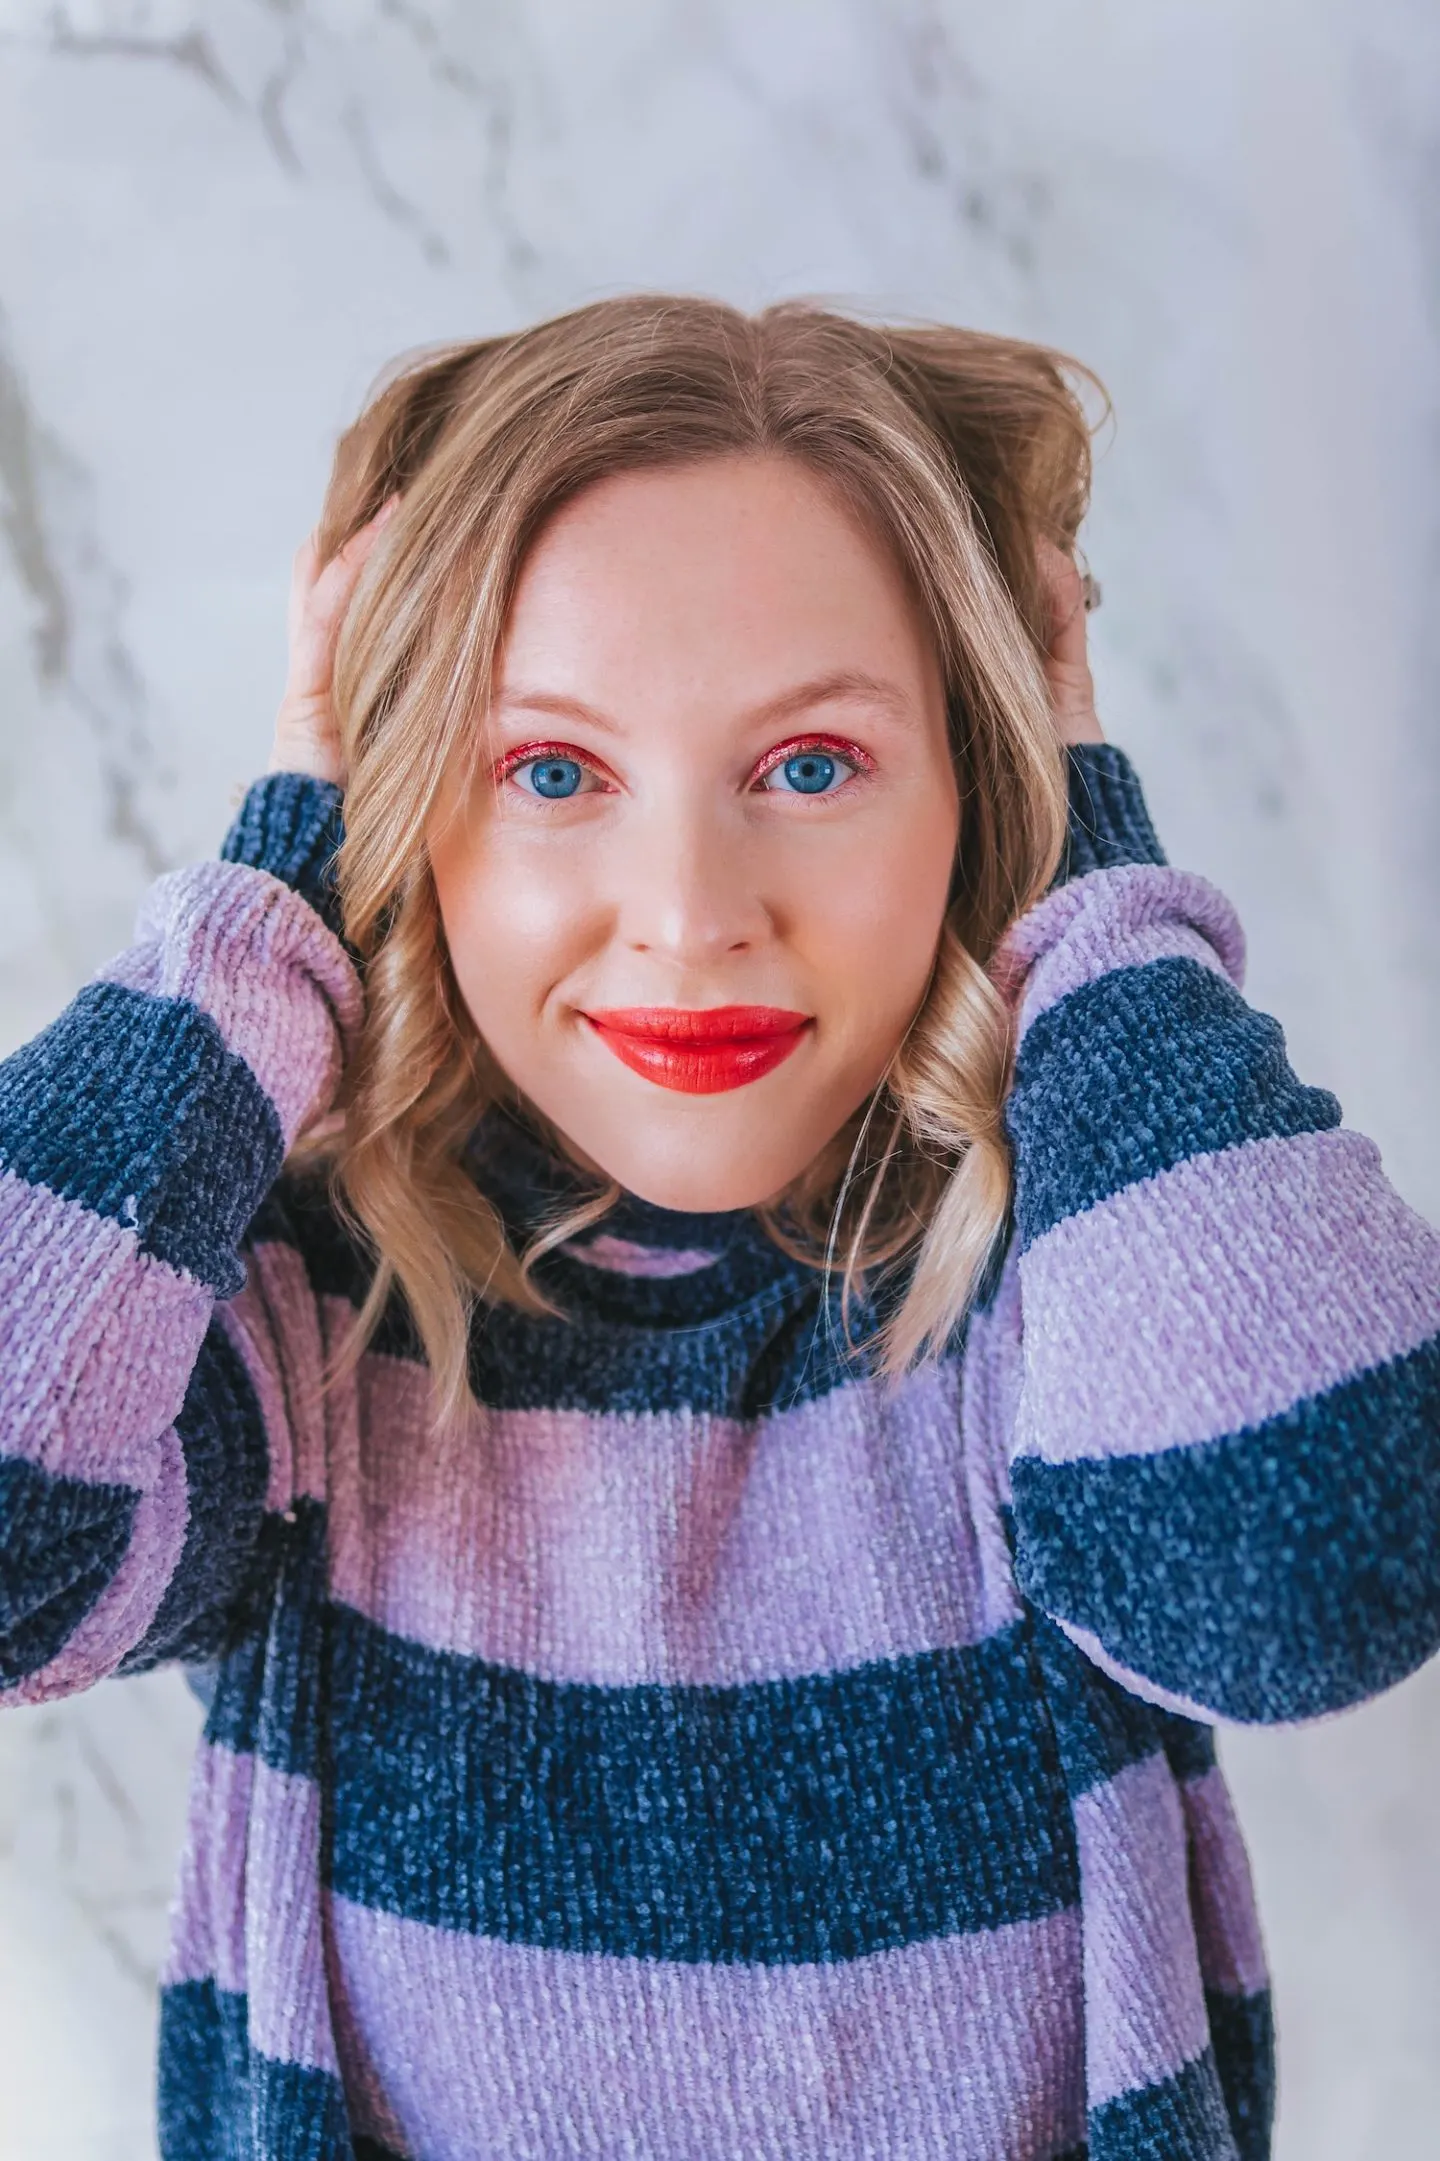
Then you’ll do exactly what you feel like you shouldn’t…mess it all up.
Take your fingers and fluff up the curls, shake your head around, whatever you can do to loosen up the curls you just made.
I know, you’re probably worried it’s going to completely ruin things.
But take a look at what it looks like after this step below.

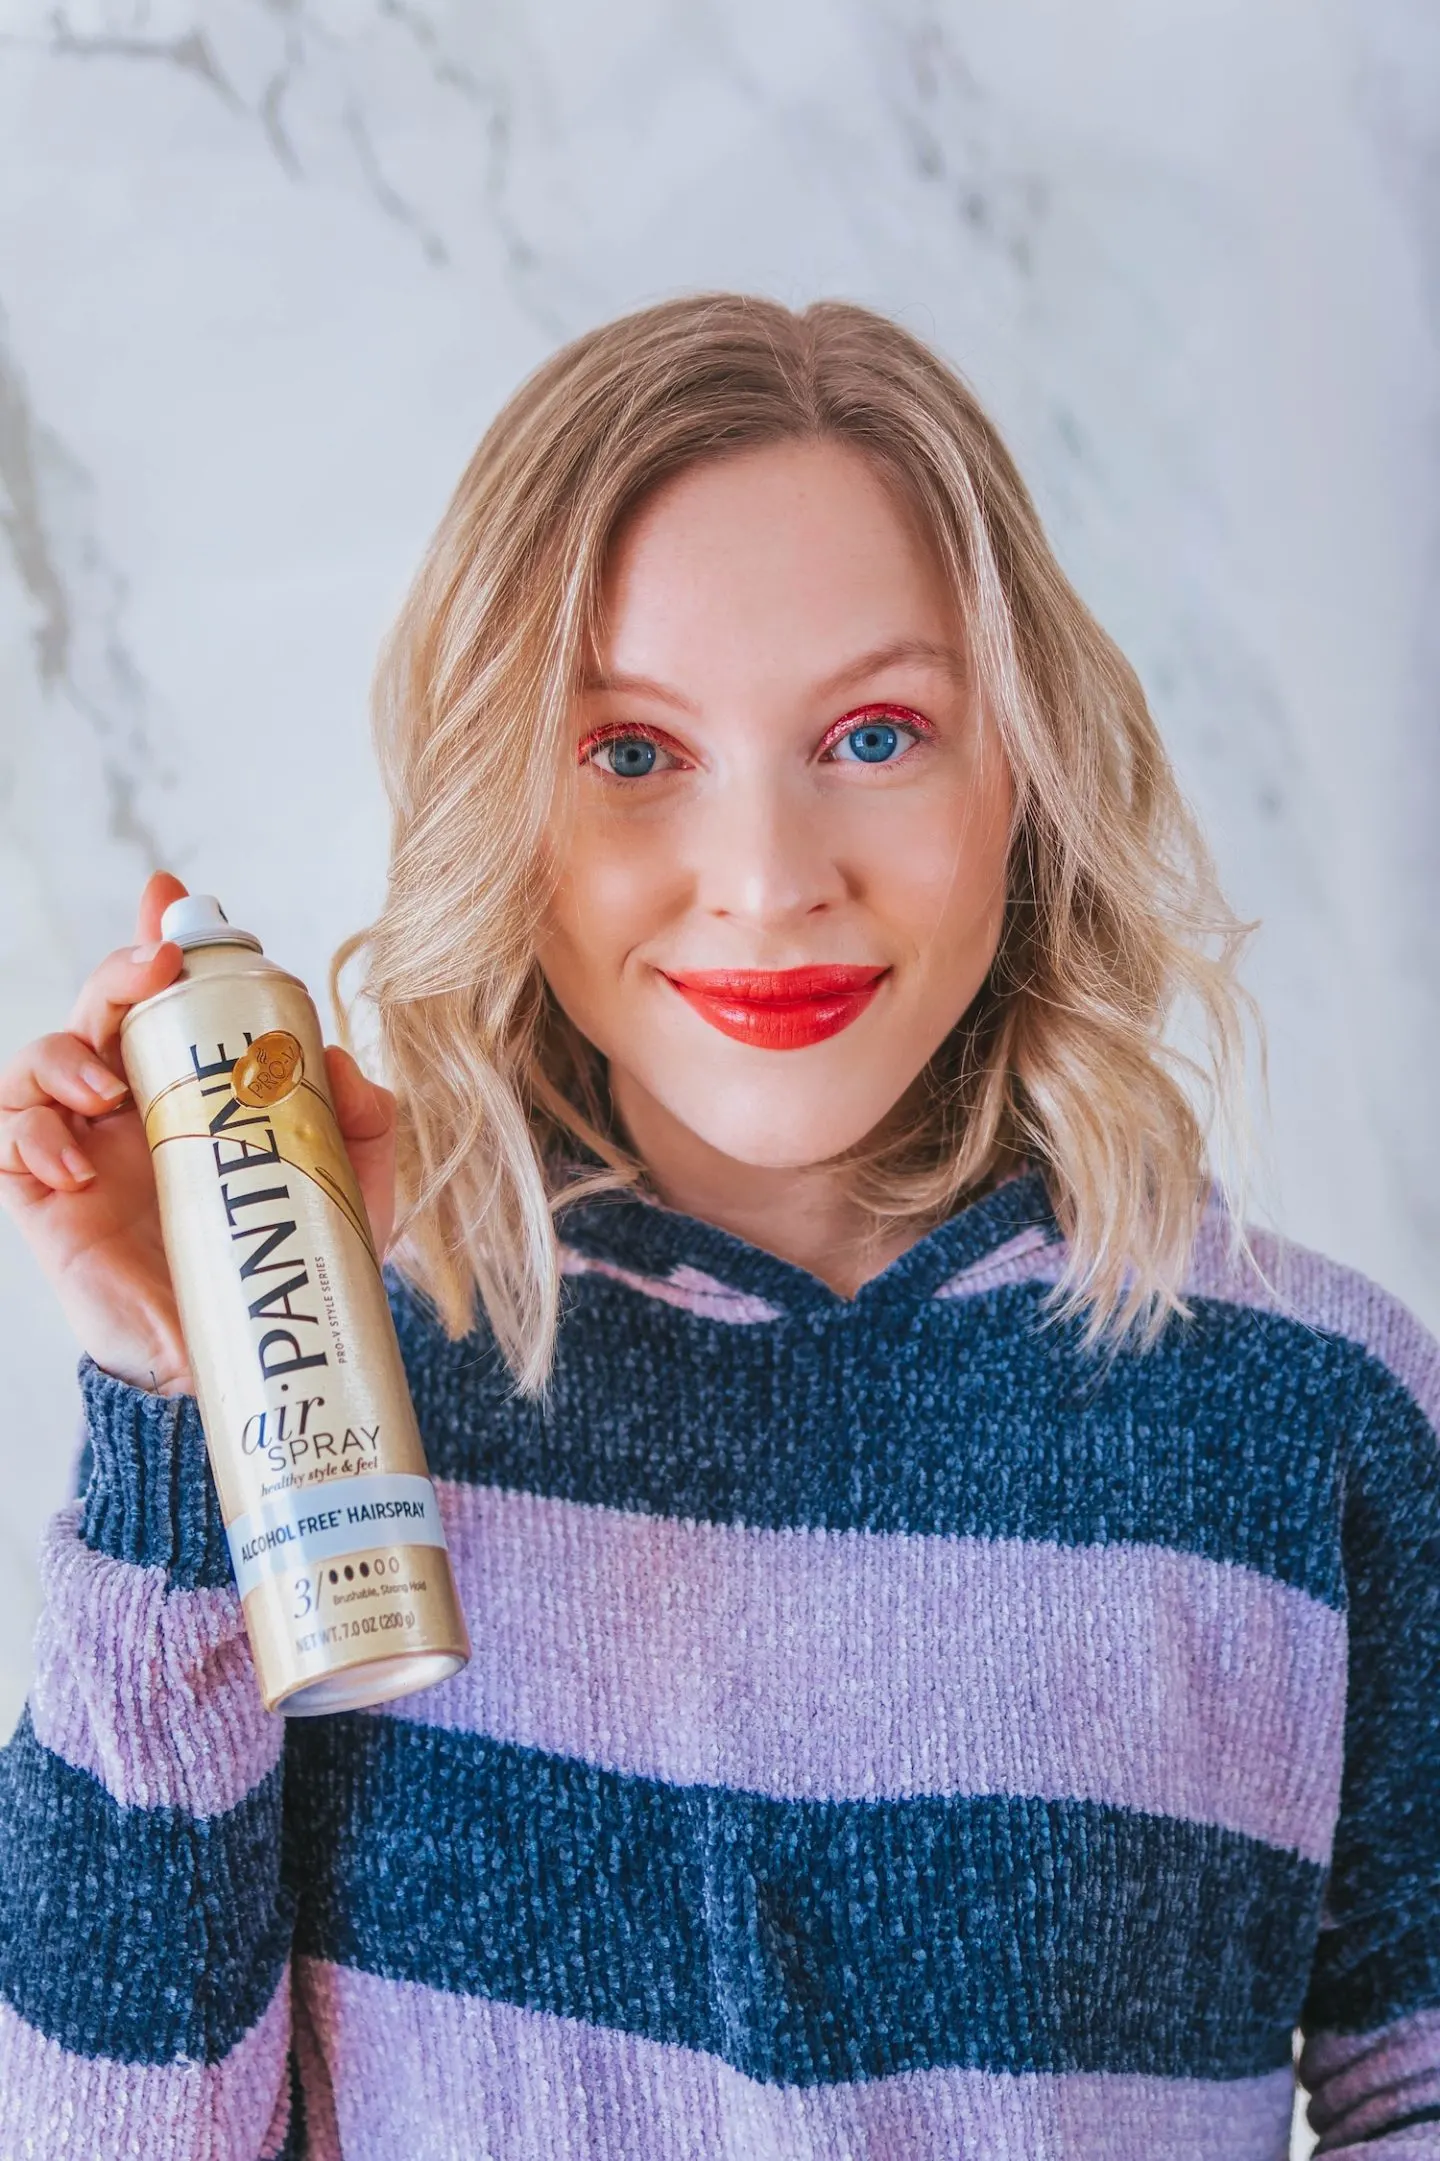
7. Set With Hairspray Again
See, doesn’t that look so much better?
I instantly have more volume, and the curls have softened up just enough that they appear to be beachy and natural looking (or as beachy and natural looking as a girl can get with fine, naturally straight hair like mine!).
Once you’re satisfied with the look of your curls after messing them up, make sure you go in with another light round of hairspray again and allow that to set.
I use the hairspray the first time to make sure the curls still keep somewhat of their shape while I mess with them, and then I go in the second time to finalize what I’ve done and make sure the style holds throughout the day.
8. Refine Curls With Manipulator (Optional)
The last step in this tutorial is to go in with the tiniest bit of manipulator (I swear by this one), and refine your curls.
Simply take about a dime sized amount of manipulator, rub it in between your hands, and then use it to refine any curls that aren’t quite sitting the way you’d like them to, or that seem like they need a bit more structure.
You don’t need a lot of this product, but I highly recommend it to finish off this look!
Related: How to Do Space Buns | Easy Double Buns Tutorial

Do you love how easy this look is?
Once you do it a few times, I promise it gets even more easy and intuitive.
Usually, perfecting this style only takes me about 15 minutes (obviously for those with thicker hair though, it may take longer).
Now beach waves don’t have to just look effortless, but they can also be a go-to, minimal effort style.
